


Proper microscope maintenance preserves image clarity, prevents mechanical problems, and extends equipment life. For beginners, the key rules are simple: use the correct materials, remove dust before wiping, keep liquids away from openings, and handle moving parts gently.
Prepare the Microscope for Cleaning
Place the microscope on a stable surface in a well-lit, dust-free area.
- Prepare the Microscope for Cleaning
- Clean the Microscope Lenses
- Clean the Stage and Microscope Body
- Care for the Focus Mechanism and Stand
- Maintain Digital Microscope Components
- Clean the Screen Safely
- Inspect Cables and Ports
- Protect the Camera Sensor
- Keep the Lighting System Clean
- Simple Maintenance Schedule
- Conclusion
Turn Off and Unplug the Microscope
Switch off the microscope and allow the bulb or LED system to cool. Unplug the power cord before using any cleaning fluid. This reduces the risk of electrical damage and prevents contact with a hot lighting unit.
Remove Slides and Samples
Take slides, petri dishes, specimens, and loose accessories off the stage. A slide left in place can break if the stage is moved or a tool is dropped. Clearing the workspace also makes inspection easier.
Gather the Correct Tools
Use materials designed for optical equipment:
- Optical lens paper
- Rubber air blower
- Soft optical brush
- Optical cleaning solution
- Clean microfiber cloth
- Cotton swabs for metal surfaces
Avoid paper towels, facial tissues, and ordinary cloths. Their fibers may scratch lenses or damage optical coatings.
Clean the Microscope Lenses
Lenses are delicate and expensive. Clean them only when dust, fingerprints, oil, or visible residue affects image quality.
Remove Dust Before Wiping
Never wipe a dusty lens immediately. Hard particles can scratch the glass when dragged across the surface. Use a rubber air blower to direct gentle bursts of air across the eyepieces and objective lenses. If particles remain, remove them with a clean optical brush. Do not blow on the lens with your mouth because moisture may leave spots.
Apply Cleaner to Lens Paper
For fingerprints or oily marks, add one or two drops of optical cleaning solution to fresh lens paper. The paper should be lightly damp, not soaked. Do not apply cleaner directly to the lens. Excess liquid can seep around the edges, affect internal adhesives, or enter the optical housing.
Wipe From the Center Outward
Place the damp lens paper in the center of the glass and wipe gently in a spiral motion toward the outer edge. Use minimal pressure. Discard the paper after one pass. Reusing it may transfer dust or oil back to the lens. For stubborn marks, repeat with a new sheet instead of rubbing harder.
Inspect the Surface
Angle the microscope so room light reflects from the lens. Check for streaks, smudges, or remaining particles. Repeat only when necessary because excessive cleaning can wear down lens coatings.
Clean the Stage and Microscope Body
The stage and exterior collect dust, sample debris, fingerprints, and spills. Regular cleaning prevents contamination from reaching mechanical or optical parts.
Remove Stage Debris
Use a soft brush to sweep particles from the stage, slide clips, and exposed tracks. Pay attention to moving mechanisms, where debris can interfere with smooth positioning. For oil or sample residue on metal surfaces, lightly dampen a cotton swab with isopropyl alcohol and wipe the area. Do not let liquid run into joints, gears, or openings.
Wipe the Exterior
Clean the arm, base, viewing head, and other exterior surfaces with a dry or slightly damp microfiber cloth. Apply moisture to the cloth rather than spraying the microscope. Avoid household glass cleaners and strong chemicals. They may damage paint, plastic, rubber, or protective coatings.
Keep Liquids Away From Openings
Use extra care around seams, ports, ventilation slots, focus housings, and lighting compartments. Moisture entering these areas may cause corrosion, electrical faults, or damage to internal lubrication.
Care for the Focus Mechanism and Stand
Focus knobs, stage controls, and support joints depend on precise alignment. Rough handling can cause more damage than ordinary dust.
Move Controls Gently
Turn coarse and fine focus knobs slowly. Do not force the stage or lens assembly beyond its normal travel limit. Rapid movement or pressure can damage gears and reduce focusing accuracy. Move stage controls smoothly rather than pushing the stage by hand.
Check for Loose Parts
Every few months, inspect visible screws, joints, mounting points, and stand connections. If the microscope wobbles, gently tighten the correct hardware. Do not overtighten screws. Excessive force can strip threads, crack plastic parts, or affect alignment.
Do Not Force Stiff Knobs
Stop using a control if it becomes difficult to turn. Resistance may indicate dried lubricant, trapped debris, or a damaged gear.
Forcing the knob can turn a minor issue into a costly repair. Internal cleaning, lubrication, or adjustment should be completed by a qualified technician unless the manufacturer provides service instructions.
Use a Dust Cover
Cover the microscope after each session once it is cool and dry. A fitted cover reduces contamination on lenses, gear tracks, screens, and lights. Store the microscope in a dry area away from direct sunlight, humidity, and strong temperature changes.
Maintain Digital Microscope Components
Digital microscopes combine optics with screens, cameras, lighting systems, cables, and electronic ports.
Clean the Screen Safely
Turn off the display before cleaning it. Wipe the screen with a clean microfiber cloth. For fingerprints, lightly dampen the cloth with a screen-safe solution. Do not spray liquid onto the display, and avoid ammonia-based glass cleaners because they may damage protective coatings.
Inspect Cables and Ports
Check HDMI cables, USB power cords, adapters, and connectors for bent pins, loose fittings, or frayed insulation. Damaged connections can interrupt power or video output. Disconnect cables by holding the connector body. Pulling the cord can weaken internal wires or loosen the port. Remove visible port dust with a blower. Do not insert metal tools or wet swabs.
Protect the Camera Sensor
On microscopes with removable lenses, keep a dust cap over the sensor housing whenever the lens is detached. Sensor dust may appear as dark spots in images and video. Use an air blower for loose particles. Avoid wiping the sensor unless the manufacturer provides a safe procedure.
Keep the Lighting System Clean
Dust on LED ring lights or flexible lamps reduces brightness and may make focusing more difficult. Wipe light covers with a dry microfiber cloth and confirm that the lights illuminate evenly.
Clean, stable lighting is especially important for autofocus systems because they rely on contrast to identify the subject.
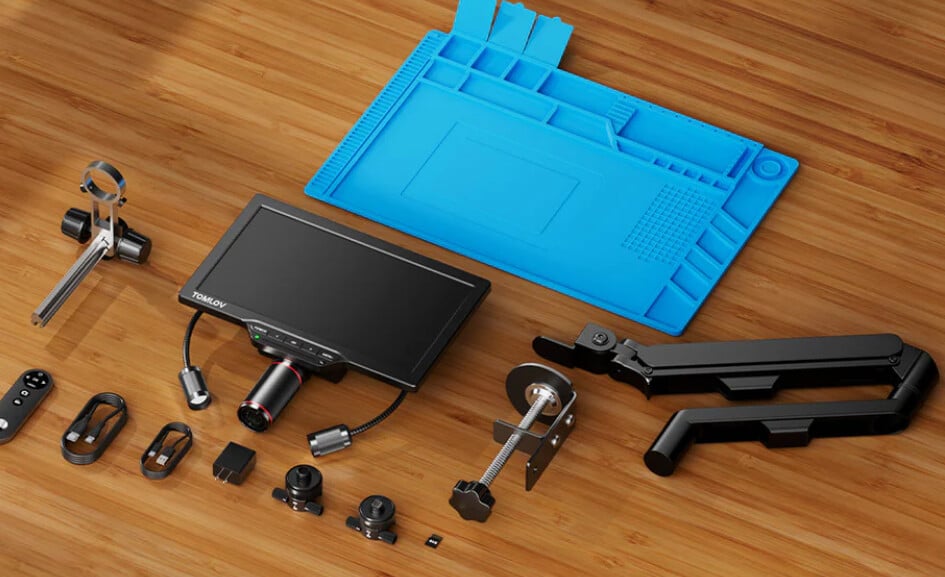
For digital microscopes with integrated screens, autofocus systems, and external lighting, regular component checks are especially important. TOMLOV TM4K-AF autofocus digital microscope, for example, combines an 8-inch display, TOF autofocus, adjustable dual spotlights, and HDMI and USB connections. Keeping the screen, lens area, lights, and ports clean helps maintain clear imaging and reliable performance during coin inspection, soldering, and other detailed work.
Simple Maintenance Schedule
A basic routine makes microscope care easier:
- After each use: remove samples, wipe residue, switch off the power, and cover the microscope.
- Weekly or as needed: remove exterior dust and inspect lenses.
- Monthly: check cables, ports, stand joints, stage movement, and lighting.
- When image quality declines: inspect lighting and lenses before changing settings.
- When controls become stiff or unstable: stop using them and arrange professional service.
Conclusion
Microscope maintenance does not require complicated tools or frequent disassembly. Most problems can be prevented by keeping the equipment covered, removing dust before wiping, applying cleaning fluid to lens paper rather than glass, and moving controls gently. Clean only the areas that need attention, follow the manufacturer’s care instructions, and seek professional help for internal optical, electrical, or mechanical problems. With consistent care, a microscope can continue producing clear images and reliable results for years.