

You don’t need footage to make a first AI video. You can start with a sentence describing a toy train coming out of a tunnel. If you already have a photo of a particular toy train, you can give the tool that image instead of trying to describe every detail. And if you know what the opening and closing views should look like, you can supply pictures for those moments.
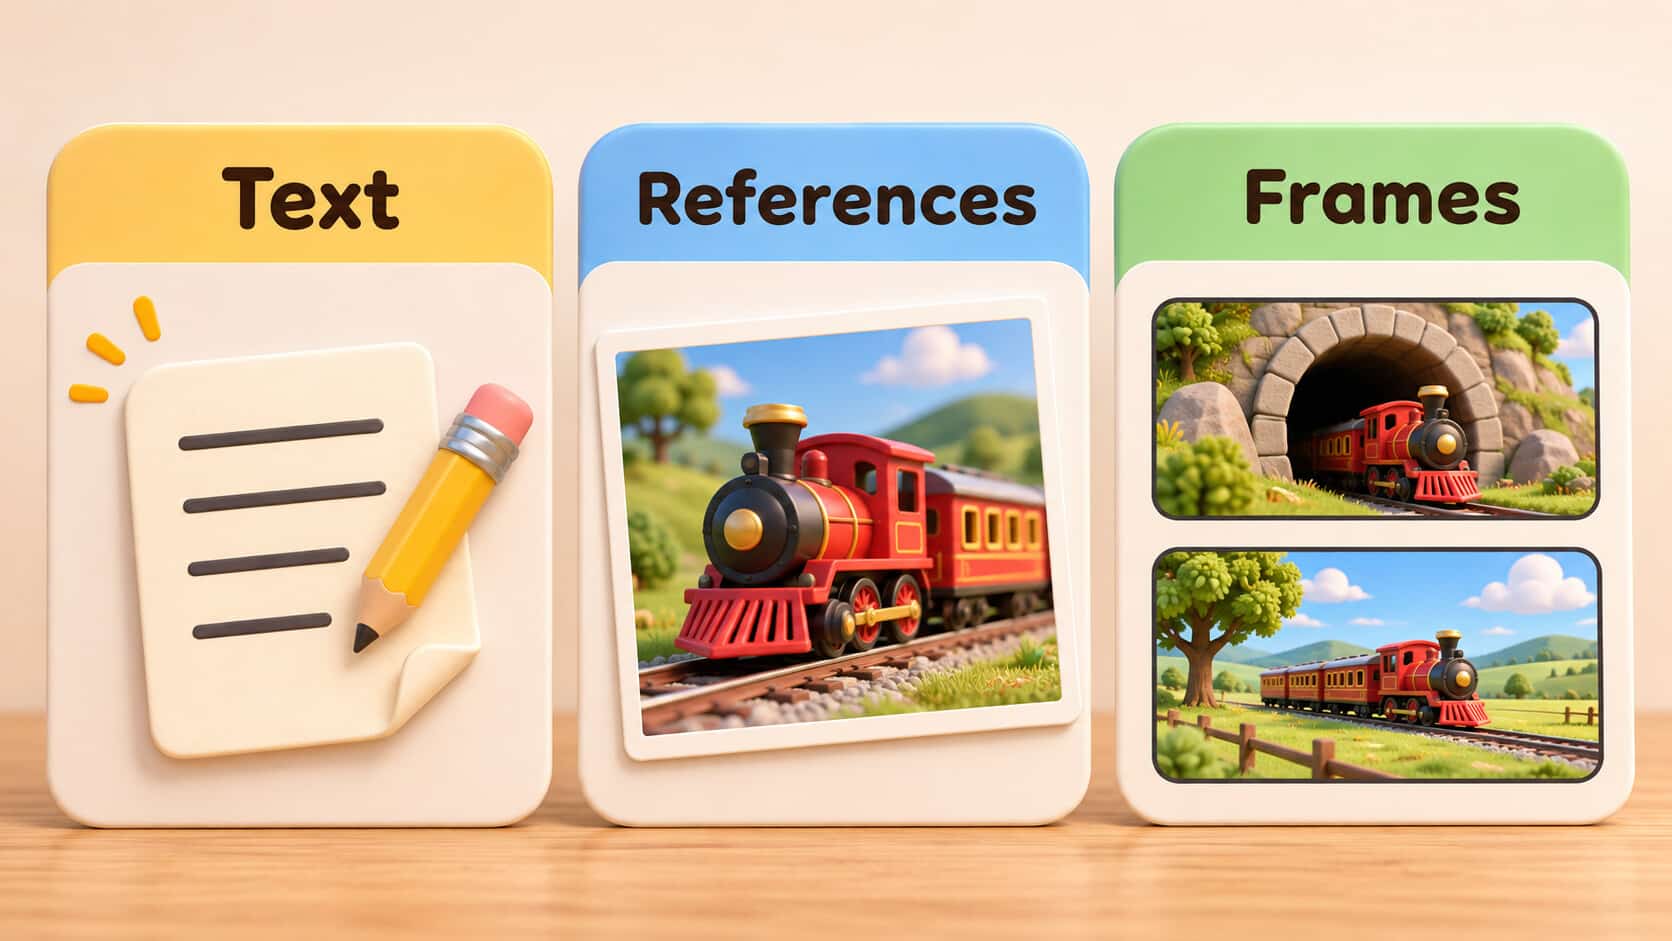
The Kling 4.0 AI Video Generator offers three ways to begin: Text, References and Frames. All three generate video. What changes is the information you give the model before it starts. Here’s what each option does, and when a first-time user might choose it.

Text: Turn a written idea into a clip
Choose Text when you know what you want to see but don’t have a picture of it. The model builds the scene from your description. For a first clip, name the subject, say what it does and give the scene a setting. You can do all three in one sentence:
A small red wooden train rolls slowly out of a stone tunnel on a model railway, filmed from a fixed low angle in soft afternoon light.
That prompt leaves room for the model to invent the train and the scenery. That’s useful if you want an opening shot for a story or a quick visual for an idea you haven’t filmed. If the train must look like the one on your desk, though, adding more adjectives is not the only option. A photo gives the model something concrete to work from.
References: Show the model what you mean
References mode accepts images and videos. A photo can show the shape and colours of the train. A short video can illustrate movement that’s harder to put into words, such as a camera gliding alongside a moving object. You don’t need both for a first attempt. Start with the file that answers the biggest question about the shot.
For example, if the toy’s design matters but the camera can stay still, upload the photo and describe the action: have that train move slowly into daylight. If you do add a second file, tell the model what each one is for. The workspace lets you type @ in the prompt to point to an uploaded asset. That’s clearer than referring to “the example” when you’ve supplied more than one.
A reference guides the result; it isn’t a guarantee that every wheel or painted stripe will stay the same. Watch the clip before using it, especially if it will appear alongside a real photo of the object. Use only images or clips you have permission to submit.
Frames: Guide what the viewer sees at specific moments
A frame is one still picture from a video. In Frames mode, uploaded images can act as keyframes: visual guides for particular moments in the shot. Imagine an opening picture with the train partly hidden by the tunnel and a later picture with it out in the open. The pictures show the views you’re aiming for; your prompt describes how the train gets from one to the other.
The difference from a reference photo is simple. A reference can say, “Make the train look like this.” A keyframe can say, “This is what the shot should look like at this point.” Frames are worth preparing when the composition matters, such as when a clip needs to cut to an existing image. If the exact closing view doesn’t matter, there’s no need to make an extra picture just to get started.
Make one short clip before planning a longer video
Once you’ve chosen a starting point, the Kling 4.0 video tool also lets you set the clip length, shape and resolution. Try a short clip first so you can see whether the movement works. For shape, a wide frame suits a typical landscape player; a vertical frame makes more sense if the clip is meant to fill a phone screen. Choose that early so you can judge whether the subject fits the view you’ll actually use.
Preview the whole clip, not just the best-looking still. Does the train come out of the tunnel in the right direction? Does it stay recognisable once it moves? If it disappears off-screen, adjust the framing or tell the camera to stay wider. Change one thing before generating again so you can see whether the change helped.
For a first project, give the clip a small job: open a presentation, illustrate a story idea or show a single action. If you have only an idea, start with Text. If you have a picture that shows what should appear, try References. If you know what the shot needs to look like at a particular moment, use Frames. You can learn the other options when your next clip gives you a reason to use them.