I am not the lady you ring up to freehand a mural. But I am the type to beg, borrow a gadget from someone else to fix a problem. Faced with creating a huge banner for a birthday party, I went searching for an easy solution and found something that combines technology with craft in such a way it feels like cheating —in the best sense of the word.
Why a projector works so well with banners
Portable projectors are designed for movies, but their stats align curiously well with DIY requirements. 200 to 500 ISO lumens brightness is typical, it’s not daylight-proof but you have enough for indoor tracing with curtains drawn. According to the International Organization for Standardization, ISO lumens help maintain more accurate measurements over outdated ANSI ratings so you get a better sense of brightness indoors.
Resolution and throw matter, too. 1080p, on the other hand, delivers outlines that don’t crumble under pixelated stair-steps when you’re right up close with a pencil. A short-throw ratio (about 0.8:1 to 1.2:1) allows you to fill a six- to seven-foot canvas without access to a gymnasium. Think of it as trading guesswork for geometry: the projector determines the proportions, and all you have to do is trace.
Gear I used and what really helped
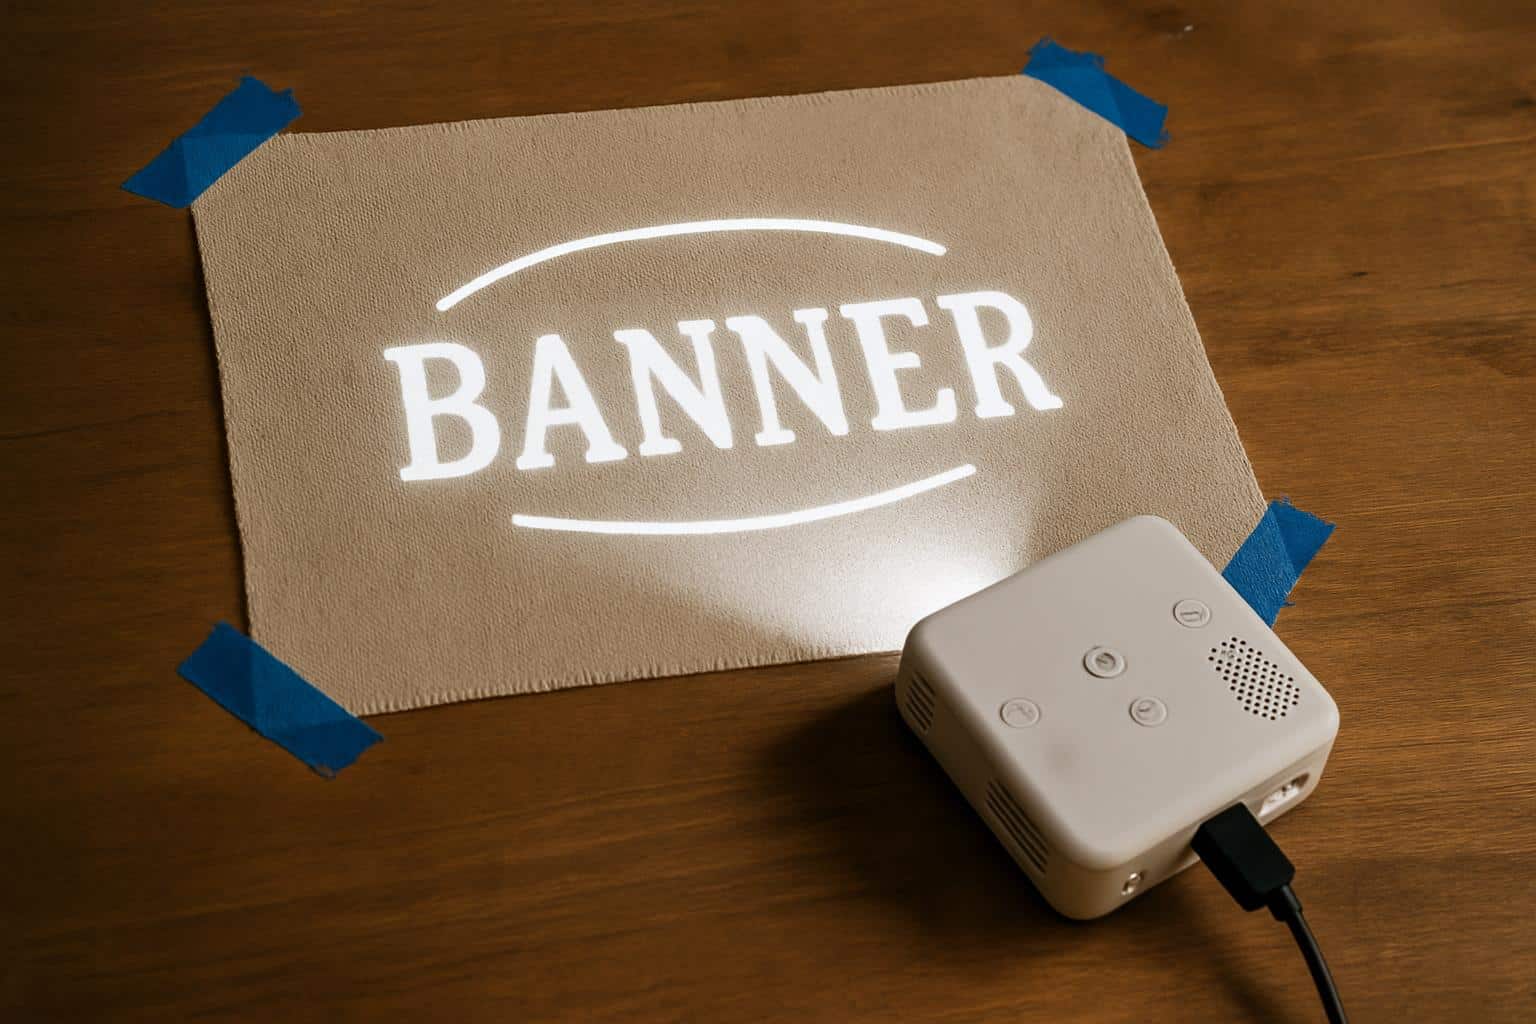
I had a compact LED model that was rated at 450 ISO lumens, with a definition of 1080p (three times bigger than the most popular travel units by brands such as XGIMI and Anker). The intriguing features, after all, weren’t cinematic buzzwords; they were the quality-of-life tools that keep a crafting night organized. Autofocus nailed the shot in seconds, nice and sharp. Auto-keystone squared up the image even with the projector set on a slight off-center tilt, when I toggled it off to make sure my alignment didn’t shift while moving in for closer (or farther away) projection.
Built-in casting was clutch. So rather than tossing USB drives around, I beamed the artwork through my phone’s photo app over Wi‑Fi and sized it down directly from the projector interface. Micro‑aiming was made easy with a lightweight tripod and tilt head. Battery power was technically optional, but comforting – because if I wanted to take my work into a different room I could without having to detangle cables like an Roschach test on the floor.
Idea for artwork which traces cleanly.
I wanted something personal and striking, not a clip-art cliché. The secret is to highlight high contrast and simple shapes. That’s because thick lines and solid areas of color hold up better when enlarged than finely detailed shading does. I did a mockup in vector for sizing without fuzz. If you’re drawing inspiration elsewhere, take it to grayscale and max out the contrast — your future self with flashlight in hand will thank you.
For scale, I had measured out my banner area (around 6.5 feet wide) and backed the projector off until the image filled that. With my throw ratio, I wound up sitting about 18 feet away. If your space is more confined, reduce the size of the design either in software or by dividing it into sections, and scooch pieces close together on the wall. The results are equivalent: Regular ratios at a size that would be excruciating to draw by hand.
Installations that sidestep the usual DIY headaches
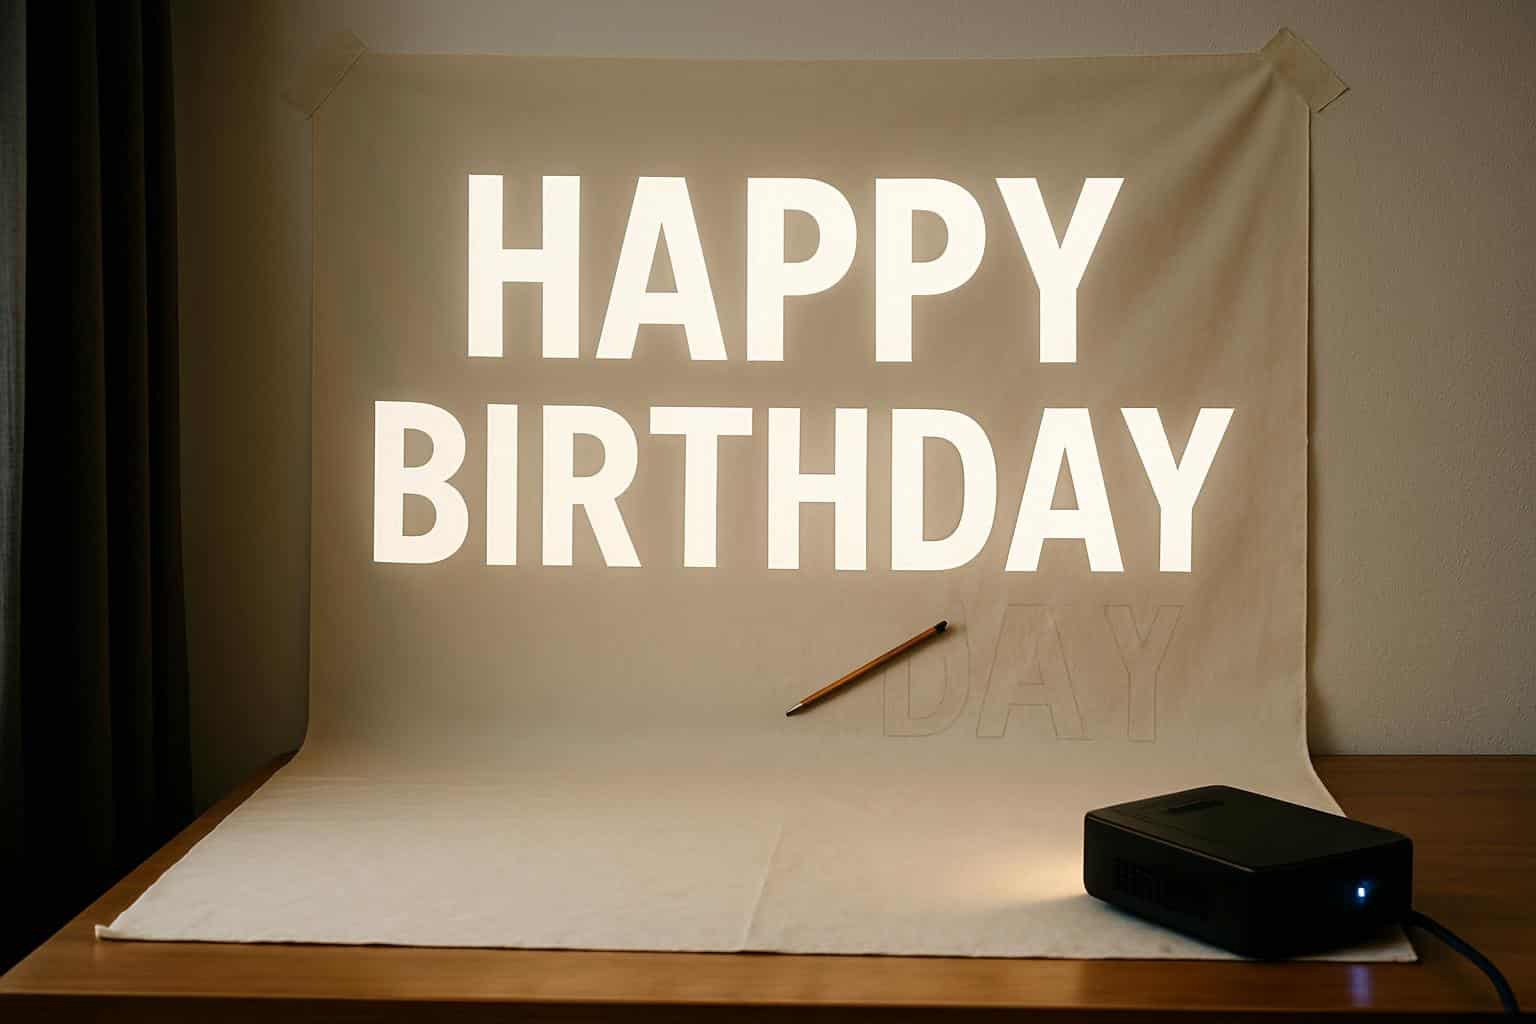
Cloth is better than paper if you need to transport the banner. I taped a midweight cotton sheet taut to a smooth wall; canvas drop cloths work, too, and they pick up paint gloriously. You loathe wrinkles — steam them out or stretch the fabric taut with painter’s tape around all sides. Kill the overhead lights, draw the curtains and let the projector do all of the heavy lifting. Even a little bit of ambient light can halve perceived contrast, the Consumer Technology Association reports — and that goes double when you’re trying to trace fine edges.
When the image was squared and in focus, I turned off my auto-keystone so the frame wouldn’t drift subtly as I went from one side of the beam to another. I drew out the outlines with a water-erasable fabric pen, then filled in with some acrylic craft paint. If you’re worried about shaky hands, fill in the traced shapes with paint and then come back (later, when this is dry) with a fine brush to crisp up its edges.
The tracing process, explained step by step
– Tape and pull tension on the fabric to wall. Start by using a level to draw a straight baseline.
– Place projector, use autofocus/keystone to setup the frame and then lock settings.
– Dim the room. (A cheap blackout curtain, or even a clipped-up blanket, is usually sufficient.)
Trace with light pressure not to leave grooves in the material. Just step back sometimes to check the proportions.
– Paint in layers. Two thin coats bests one gloopy pass and will also not bleed underneath the weave.
– Quick-check by switching on the projector very fast during painting. It’s as if you could lay a ghosted guide over an image in order to fix its drift.
Results, costs and what I’d do differently
My completed banner looked so professional that friends thought I’d ordered it. Time: About three hours, including setup and a second paint pass. Cost was literally paint and fabric — about $25 for it all—compared to the $40–$120 various local print shops quoted me when I asked around for a similar six-foot, custom piece based on street-level retail prices for short-run banners.
What would I change? I’d throw in a cheap laser level for keeping text on straight and clear (and put color blocks down with pre-templated designs so I wasn’t making palette choices in the dark). Otherwise, the tech eliminated everything that was difficult: scale, proportion and confidence. When the light strikes the canvas, you’re painting on a colossal light box — no art degree needed.
Will I ever use the projector again for movie night? Definitely. But it is now also my favorite secret weapon for large format crafts, school posters and event signage. It’s not often that a gadget is as useful in a workshop as in a living room.