Microsoft’s PC Health Check said my desktop did not meet the requirements for Windows 11. It had no TPM 2.0 to speak of, and it was on the losing side of the official CPU list. But after five minutes of prep, I began the upgrade process and it completed without incident — my files and apps all survived.
I’m going to go through step by step what I did, why Microsoft blocks some systems, and the trade-offs you’re making if you decide to do this. This isn’t a stunt; it’s a deliberate workaround that many capable machines can pull off, assuming you’re willing to take certain risks.
Why Windows 11 Blocks Some PCs: CPUs, Secure Boot, TPM 2.0
Windows 11 mandates three major checks: a modern CPU from Microsoft’s own supported list, Secure Boot, and a Trusted Platform Module version 2.0.
The TPM is a hardware root of trust relied upon for encryption keys, measured boot, and capabilities like Windows Hello. NIST’s recommendation around hardware-backed security helps explain the position Microsoft took here.
The catch is (at least for other fast PCs) they overlook one thing. Studies by security companies, including Lansweeper, of enterprise scans have found significant chunks of installed fleets either missing TPM 2.0 support or below the CPU cutoff point. That leaves millions of perfectly serviceable machines tagged as “incompatible,” herding owners to new hardware.
The five-minute prep to create Windows 11 install media
First things first: Back up your data. Make a full image or at least copy your documents and media to an external drive or the cloud. Ensure you have at least 25GB of free space on your system drive, and a USB stick that is at least 8GB in size ready.
Next, head to Microsoft and download the Windows 11 disk image (ISO) from there, as well as grab Rufus, a popular open-source tool used to make bootable media. Rufus has a setting to configure Windows 11 installation media to bypass the TPM and Secure Boot checks and CPU checks.
Insert the USB drive, launch Rufus, load up the Windows 11 ISO, and start creating. When Rufus asks for a customization, turn on the options to bypass TPM and Secure Boot requirements (and enable local accounts if you want). On a modern system, it should only take 5 to 10 minutes to write the USB.
Install in place to keep your files and apps during upgrade
USB ready, you don’t need to boot it. On Windows 10, click the USB drive in File Explorer and run setup.exe. Select “Keep personal files and apps” when you are asked. This begins an in-place upgrade process that keeps programs and settings.
The media is padded, via Rufus’ fixes, so the installer skips from hardware check to hardware check without blocking you. Expect several reboots. On an SSD-equipped machine, the hands-off part generally takes 20 to 60 minutes; the five-minute figure refers to setup time, not total install.
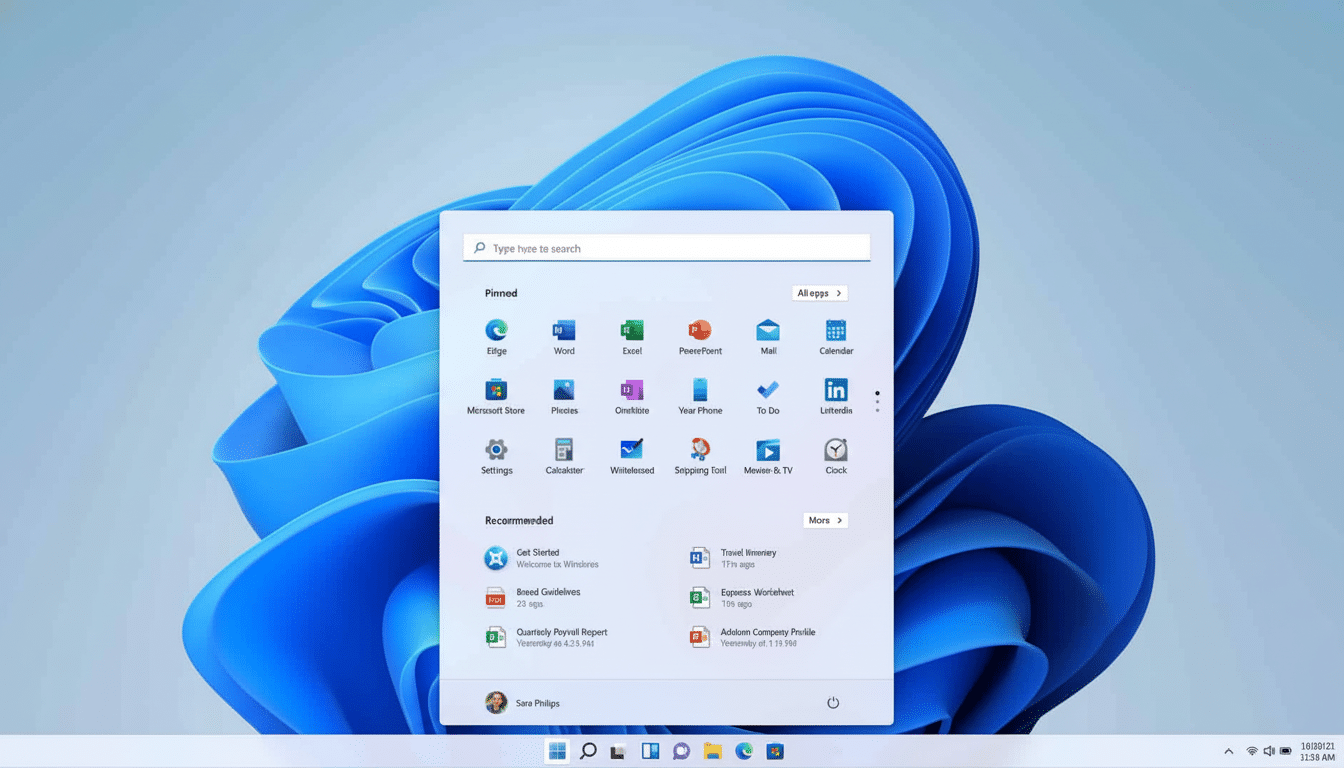
When the desktop comes back, you will be on Windows 11 with your apps still in place. For me, drivers installed properly and performance was the same as in Windows 10, but with Snap Layouts, a cleaner Settings app, and better window management.
What you lose on unsupported PCs and how to stay safe
Microsoft warns that unsupported devices are not guaranteed to receive updates. In reality, many such systems have still been receiving monthly patches, but nothing is promised. You’re prioritizing process over policy, and that can be taken away.
Security is the other trade-off. Part of the insanity above is TPM 2.0. Without it, BitLocker loses HW-sealed protection by default and some credential protection is diminished. Regardless, you can still employ BitLocker with a startup password or USB key and fortify your defenses with Secure Boot if your firmware supports it.
Make sure to also check your firmware settings first. For lots of boards, firmware TPM is just shut off. Intel refers to it as PTT, AMD uses the name fTPM. If you turn on that setting in UEFI, it may be enough to make your PC officially compatible without having to resort to some of the workarounds. Motherboard manufacturers like Asus, Gigabyte, and MSI detail this setting in their manuals.
Keep clean: turn on virtualization-based security if you have it, run a top-rated antivirus, and keep offline backups. If a future feature update refuses to play nice, you can try the Rufus route with a fresher ISO, or execute a repair install.
Alternatives for cautious upgraders who prefer no hacks
If you don’t want to change install media, here’s a method using the registry.
- During setup, when the first compatibility warning appears, press Shift+F10.
- Start regedit.
- Create a key named LabConfig under HKEY_LOCAL_MACHINE\SYSTEM\Setup.
- Add the following DWORD values (set each to 1):
- BypassTPMCheck=1
- BypassCPUCheck=1
- BypassSecureBootCheck=1
It’s messier, but gives you the same result.
Finally, you can skip the hack altogether. Some users will continue to run Windows 10 with paid Extended Security Updates, a program that Microsoft offers for systems that require more runway. Others might coordinate a hardware refresh with broader recommendations from analysts such as Gartner, which projects a significant replacement cycle fueled by the end of Windows 10 support. Both those routes are fine, but you need to know what your paths are.
For me, the Rufus method resulted in Windows 11 running on a “not supported” PC with relatively little hassle and absolutely no lost data. If your hardware is still quick and you can live with the caveats, it’s a lovely way to extend life for five minutes of prep work.