Behind a free download lies a serious image editor in GIMP. Based on the GEGL image processing engine, it supports high bit depth (up to 32-bit per channel), full color management, and a large number of features that are more than adequate for everyday design tasks and photography as well as special effects applications. If you’ve never done it before, a little bit of pro habits go a long way to cutting the learning curve.
Here are 10 hands-on tips, gleaned from actual artist, photographer and educator workflows that you can use to speed up your process, while avoiding quality loss and producing consistent results—from the GIMP project community all the way down through projects like G’MIC.
- 1. Get Oriented and Choose a Workspace in GIMP
- 2. Think in Layers, Channels, and Masks for Masking
- 3. Customize the Toolbox for Speed and Precision
- 4. Work Selections and Quick Mask Accurately in GIMP
- 5. Supercharge Brushes and Dynamics for Realism
- 6. Explore Filters and Add G’MIC for Creative Power
- 7. Scale and Transform with Care for Clean Results
- 8. Fast Tone and Color Corrections with Levels and Curves
- 9. Build Speed with Shortcuts and Docks to Streamline Work
- 10. Web and Print-Ready Smart Export for Deliverables
- Bonus Workflow Boosts for Higher Quality and Control
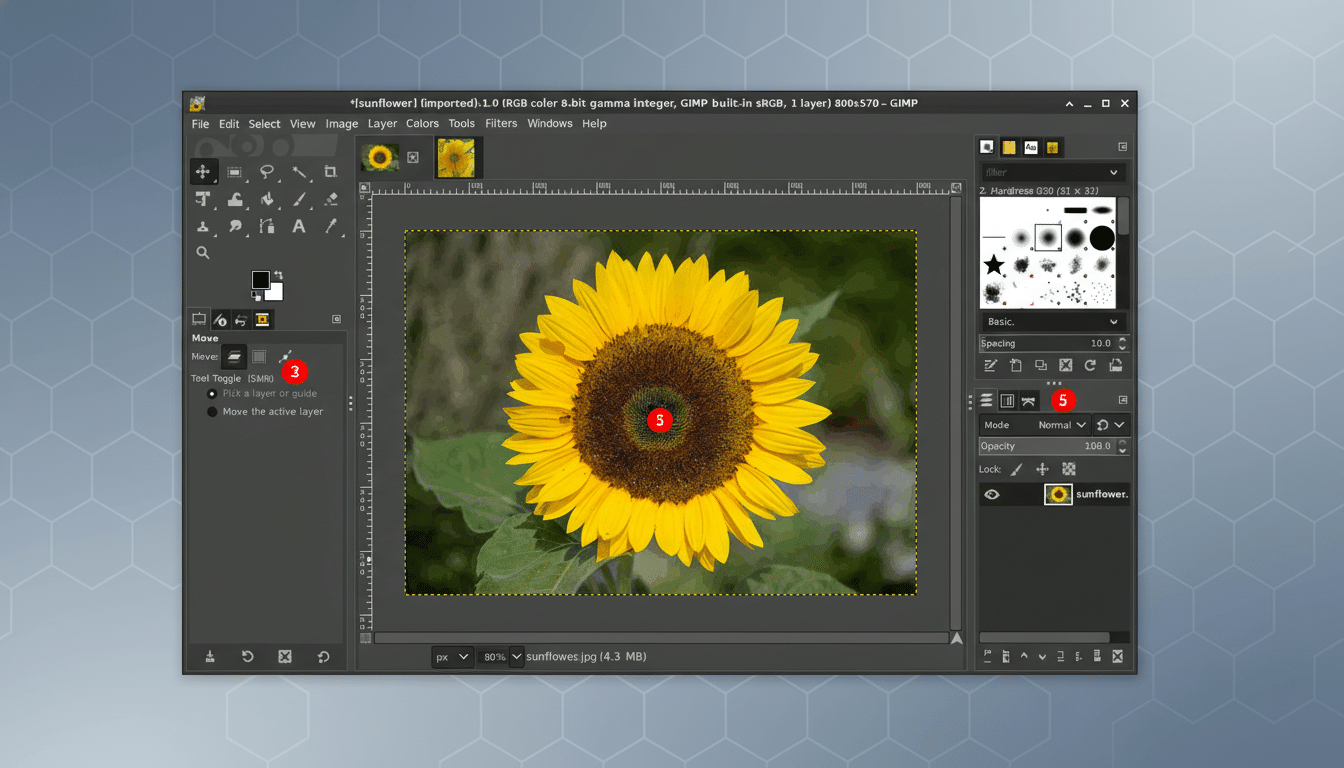
1. Get Oriented and Choose a Workspace in GIMP
Take 5 — and learn the three mainstays: Toolbox (tools), Tool Options (context settings), and Layers/Channels/Paths (structure). Give Single-Window Mode a try, and GIMP will helpfully keep the appearance of your workspace tidy by grouping all the tools you’ll need in a single place when editing your images.
2. Think in Layers, Channels, and Masks for Masking
With layers you have a safety net—edit each separately and combine with modes like Multiply or Overlay. The way I see it, channels are for your color and alpha information needs, and layer masks allow you to expose or hide things with brushable control (black hides, white shows; gray is a mix of both). Use Lock Alpha to paint on transparent areas.
3. Customize the Toolbox for Speed and Precision
If groups slow you down, disable tool grouping from Preferences so each tool has its own icon. Scale icons on high‑DPI screens, pin your favorite dockable dialogs (History, Align, Histogram), and use the new on‑canvas alignment guides to align shapes perfectly.
4. Work Selections and Quick Mask Accurately in GIMP
Fast, clean picks are half the battle. Feather a couple of pixels (to keep it from being crunchy), grow or shrink by the same amount to counteract halos, and use Select by Color and Foreground Select for problem subjects. Toggle Quick Mask for painting your selection refinements directly or converting them into a layer mask for non‑destructive editing.
5. Supercharge Brushes and Dynamics for Realism
GIMP reads its native .gbr brushes and most .abr Photoshop brushes; see the Brushes folder paths in Preferences and place your downloaded files there, then just refresh. Brush Dynamics make for realistic-looking lines and strokes—varying width, opacity, and angle with pen pressure or speed. I also use a very soft brush, low flow, Sample Merged for retouching in the Clone/Heal tools.
6. Explore Filters and Add G’MIC for Creative Power
Blur, Enhance, Light & Shadow, and Artistic filters can lift a picture in seconds—use on duplicate layers to dial opacity later.
7. Scale and Transform with Care for Clean Results
Every resample throws away or makes up pixels, so make your planned changes and do them once. If you are downscaling photos, use NoHalo or LoHalo interpolation for the cleanest-looking result; if scaling up by just a bit, maybe choose Cubic and apply a mild Unsharp Mask in post. Keep alterations on separate layers so you can change them back without affecting the original.
8. Fast Tone and Color Corrections with Levels and Curves
Begin with Levels to establish black and white points (keep an eye on the histogram), and then fine‑tune midtone details using Curves. Auto settings — White Balance, Color Enhance, and Stretch Contrast — serve as good starting points that you can fine-tune. For web, design in sRGB and embed the profile; for print, use the printer’s ICC profile and soft proof with Color Management.
9. Build Speed with Shortcuts and Docks to Streamline Work
Map your most frequent actions in Edit > Keyboard Shortcuts—set keys for Duplicate Layer, Add Layer Mask, and Export As. The Align tool is a secret for social layouts; you can pair it with Guides and the Measure Tool to get your spacing perfect. Use your custom sets of shortcuts and window positions with the next install.
10. Web and Print-Ready Smart Export for Deliverables
Instead of Save, use Export As when producing deliverables. For images with transparency use PNG; for photographs use JPEG at around 80–90 quality or, better yet, modern WebP with the same-ish file sizes and similar quality. Images are the majority of page weight, according to analyses from the HTTP Archive, so shaving off bytes counts. For batches, the community-maintained Batch Image Manipulation Plugin can resize, convert, and watermark in one step.
Bonus Workflow Boosts for Higher Quality and Control
For rigorous edits, particularly in the presence of shadows or gradients, adjust Image > Precision to 16‑bit or 32‑bit float. Keep it layered. Use the XCF as your truth, then export what you need. This corresponds to best practices as taught in digital imaging courses in higher education (e.g., university) and reported within the GIMP project documentation.
With these habits, GIMP stops feeling like a cheap alternative and starts acting like a solid studio tool—all while treating your time, pixels, and process with respect.