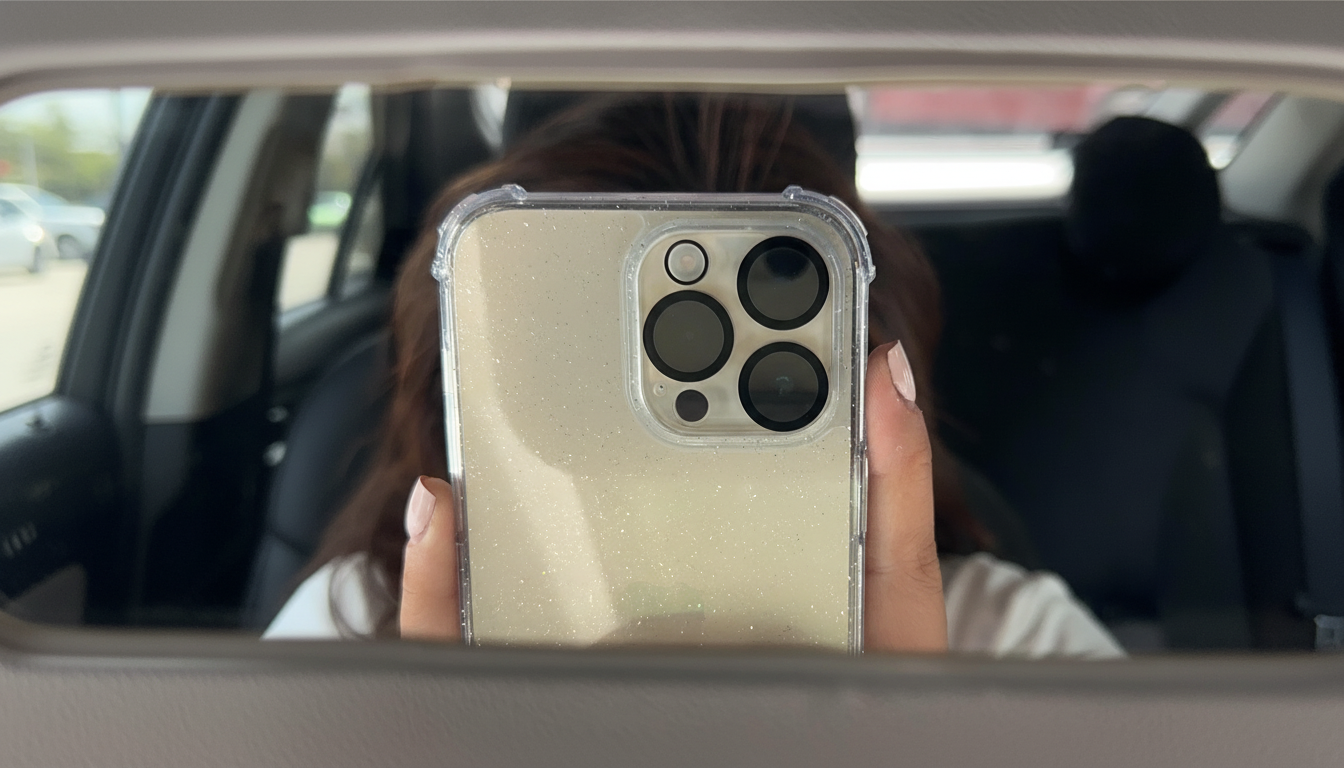
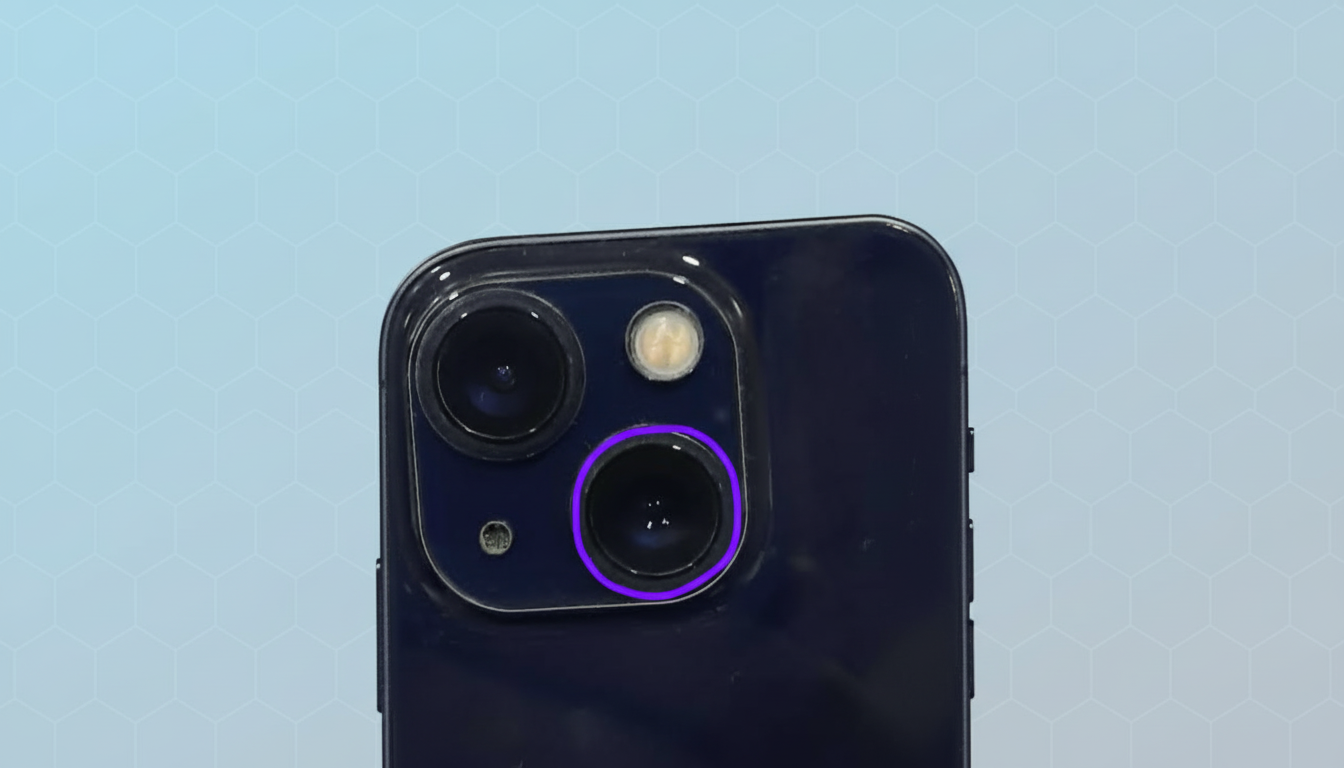
That bargain lens protector you snapped to your phone may be quietly sabotaging your best shots. Fresh testing and long-established optical principles both point to the same conclusion: even a thin, “clear” layer can steal light, add flare, and mute color, all more often than not in the tricky scenes where your phone’s camera works the hardest.
How Thin Glass Changes Your Camera’s Light and Color
Smartphone lenses are already crowding compact optics, tiny sensors, and heavy computational processing. Adding a flat plate in front creates two extra air–glass surfaces; those alone absorb some fractions of the incoming light. According to Zeiss optical guidance, each uncoated surface reflects roughly 4% of the incoming light. Modern multi-layer coatings can cut that below 1% per surface, but cheap protectors often skimp on decent coatings. By using one, you could be losing 5–8% of the light to reflection and absorption, compared to only 1–2% for a decent one. That sounds tiny, but photography is a game of margins. A 5% transmission loss equals about 0.07 stop; 10%, about 0.15 stop. In daylight, you won’t notice a thing. In the dusk, your phone will have to push ISO or lengthen exposure, nudging noise up and microcontrast down.
- How Thin Glass Changes Your Camera’s Light and Color
- The Hidden Cost in HDR and Night Shots on Your Phone
- Premium Protectors Are Not Magic But They Help
- Real-World Checks You Can Do in Just a Few Minutes
- When to Skip or Keep the Protector on Your Lenses
- Bottom Line: How to Protect Optics Without Losing Quality

LensRentals’ comparative filter tests on dedicated cameras have shown that low-quality protective glass can trim MTF—fine-detail contrast—by single to double digits at high frequencies. This is exactly what our smartphone sharpening tries to preserve.
Surface quality matters, too. Micro-roughness, adhesive haze, imperfect cutouts—they all scatter light, creating veiling glare that washes out blacks and bleeds highlights. Ultra-wide lenses, with their extreme angles, are particularly prone to picking up edge reflections from poorly blackened borders or raised rings around individual camera modules.
The Hidden Cost in HDR and Night Shots on Your Phone
Modern phones lean on HDR bracketing and multi-frame fusion. When a protector reduces transmission, you force the stack to work with a thinner signal. That means more-aggressive tone mapping to lift shadows, which also lifts noise and desaturates color. In backlit scenes, extra reflections generate ghost blobs and fine streak flare around streetlights and the sun—artifacts that computational pipelines can’t fully erase.
Low-light and telephoto shots suffer the most. Smaller tele sensors rely on every photon; cutting light by even a fraction pushes the camera toward a higher ISO or softer noise reduction. Independent labs like DxOMark have long noted that minute changes in transmission and flare control correlate with measurable dips in texture retention and dynamic range in the dreaded night mode.
Premium Protectors Are Not Magic But They Help
Higher-end protectors use optical glass or fused materials with multi-layer nano coatings, oleophobic layers, and sometimes blackened edges to suppress internal reflections. Look for claimed total transmission above 98% and reflectance under 0.5% per surface—figures in line with what lens makers target on front elements. Reputable photo brands publish these data points for filters; phone accessories rarely go that deep, but the same physics applies.

Fit is as critical as glass. Precision templates reduce tilt, micro-gaps, and trapped dust—common culprits of flare and streaks. Multi-module phones benefit from one-piece frames engineered to avoid edge glints across ultra-wide and tele lenses. Even then, no protector eliminates all artifacts; it just reduces how often they intrude.
Real-World Checks You Can Do in Just a Few Minutes
- Night flare test: photograph a single streetlight across the frame. Compare with and without the protector. Look for halos, ghost duplicates, or streaks.
- HDR stress test: shoot a backlit window scene. Watch for lifted blacks, muted color, and reduced highlight detail with the protector on.
- Tele sharpness test: use your tele lens on detailed textures (brick, foliage). Pixel-peep edges for smeared detail or microcontrast loss.
If you see consistent issues, it’s not your camera. It’s likely the glass in front of it.
When to Skip or Keep the Protector on Your Lenses
Some flagships already use sapphire or strengthened cover glass on camera modules, which resists scratches better than standard glass. Sand and grit—quartz is around Mohs 7—can still mark materials over time, but many cases with raised bezels protect lenses without covering them. If you regularly shoot concerts, city nights, or high-contrast travel scenes, leaving optics uncovered will maximize dynamic range and color fidelity.
If you have to—if you’re hitting the beach, baseball, or building sites—pick a protector from a reputable brand, prioritize anti-reflective coatings and precise jigs, and swap it at the first sign of scratches or cracks. Apply in a clean, slightly humid room to calm dust and avoid adhesives that streak across the lens openings.
Bottom Line: How to Protect Optics Without Losing Quality
Cheap lens protectors don’t always ruin photos, but they can quietly reduce light, flatten color, and add flare right when your phone needs every advantage. The physics is clear and the field evidence aligns: small transmission and reflection penalties translate into visible hits in HDR and low light. For the best images, go bare or get protected in well-coated optics and careful installation—your photos will look better.

