I didn’t anticipate that a single button would have replaced half a dozen adjustment layers, but Photoshop’s new Harmonize tool just did. With a click, my pasted-in subjects snapped into the scene — color, contrast and shadow direction so comically believable I only stopped doing more composites to test its mettle against 20th-century paste-‘n’-cut standards.
What Harmonize Actually Does to Match Subjects and Scenes
Harmonize examines the light environment in your background plate and remaps your foreground layer to match it. That’s pulling white balance, compressing or expanding dynamic range, bumping midtones and preparing suitable shadow density so the subject feels like it is part of the ground-scape and not stickered on top.
- What Harmonize Actually Does to Match Subjects and Scenes
- The Workflow in Practice for Faster, Believable Composites
- Where It Shines and Where It Slips in Real-World Composites
- You Can Feel the Speed Gains in Everyday Editing Workflows
- Pro Tips to Take It from Good to Great in Your Composites
- Ethics, Trust and the Label on the Frame
- Why I’m Hooked After a Week of Testing Harmonize in Photoshop
For editors, it packages what has long been a painful stack – Match Color, Curves, Color Balance, selective Dodge/Burn and hand-drawn contact shadows – as an automated pass. Under the hood, it’s using Adobe’s existing AI stack — the same family that drives Generative Fill — but directed squarely at relighting and toning, rather than content creation.
The Workflow in Practice for Faster, Believable Composites
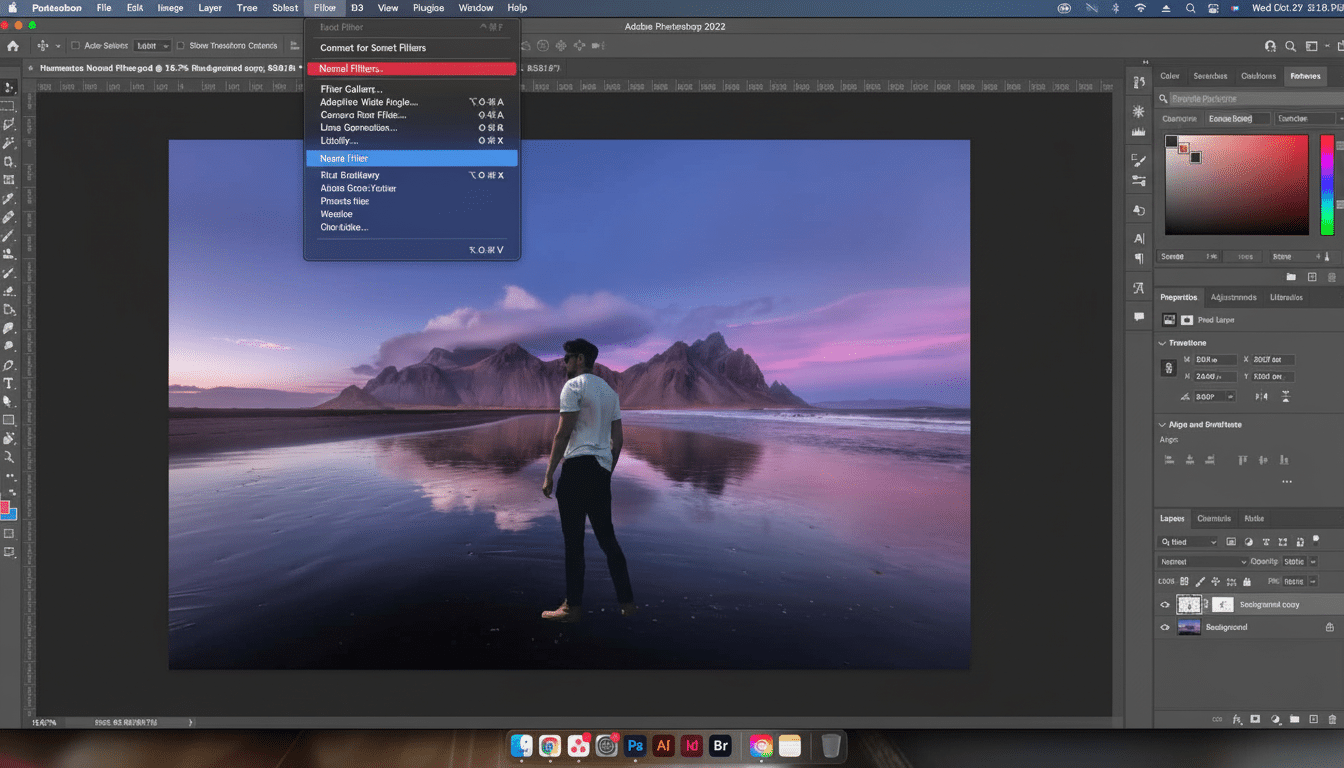
It lives in the Photoshop beta right now, surfaced on the Contextual Task Bar when you’re compositing layers. Here’s my flow: Choose Subject, Remove Background, drop the cutout onto the destination image, click Harmonize, then try playing some of its offered versions. Pick a favorite, adjust strength and go.
On a stainless kitchen counter photographed with warm LEDs underneath sloping cabinets, the cool high-polished manipulator of studio work turned into sweepable shadows that made easy-lying next to matte ambient light; specular highlights no longer shouted “flash gun.” It took about two seconds, give or take the difference between “obviously pasted” and “plausibly photographed there.”
Where It Shines and Where It Slips in Real-World Composites
Harmonize has great global coherence, often in color temperature, and sometimes in exposure balance or overall direction of shadow. Product shots placed into lifestyle scenes and people shifting from sunshine to shade or plastic models on wooden desks gain instant aid. E-commerce, social visuals and fast concept comps are the fairest of them all.
Edge cases still need craft. You’ll see faint halos at tricky hair, occasional fringing on high-contrast edges and a tiny bit of resolution softness through finely detailed subjects once you examine this image close up. It can look off if the reflective or translucent properties of an object — chrome, glass, car paint, for example — are not responding to their environment. Harmonize does not correct perspective, scale, depth of field or occlusion.
It gets the vibe right, that is to say, but not the physics. Whether your subject will perch behind a chair leg or adopt the precise color cast of a neon sign, you’ll be masking, painting contact shadows and finessing blend modes all the same. The tool is intelligent, but it won’t save a mismatched focal length or a dramatically different camera height.
You Can Feel the Speed Gains in Everyday Editing Workflows
On normal composites, I used to spend around 20-40 minutes to have a believable integration. Harmonize racks that down to a few clicks, allowing me to focus on composition and storytelling rather than grunt work. If in a batch of campaign assets, hours back.

The broader context matters. Adobe has stated that its Firefly models have been used to produce billions of assets since being released, and the company’s recent briefings stressed AI as a time-saving solution for tedious steps rather than a creative takeover. This tool addresses that thesis head-on — it automates the drudgery without mashing style.
Pro Tips to Take It from Good to Great in Your Composites
Match lens attributes before you shoot. If the background is shot wide open and a super shallow depth of field, add Lens Blur or Gaussian Blur to your subject first; Harmonize won’t bring in bokeh for you.
To “seat” the subject with a general Multiply-layer contact shadow underneath. Even a modest gradient makes an impact, particularly on desks and floors with visible texture.
Add minimal, scene-matching noise above that.
Many cutouts are too sterile when matched against high-ISO backgrounds; a 1–2% monochromatic grain unites worlds more convincingly.
Check color spill and micro-contrast. On top of that, many times a low-opacity Color layer brushing some background colors back onto your subject’s edges and a targeted Clarity or Texture adjustment seal the deal.
Ethics, Trust and the Label on the Frame
But as compositing becomes easier, this sort of provenance matters more. Adobe’s Content Authenticity Initiative and the C2PA standard, which is backed by media orgs as well as camera makers, want to add tamper-evident Content Credentials to manipulated images. If you’re in the news business, brand marketing or product listings, you might consider allowing these markers to maintain trust with your audience.
Why I’m Hooked After a Week of Testing Harmonize in Photoshop
Sameness doesn’t take the place of good taste, light fundamentals or a decent eye for perspective. It just gets rid of the automatic part of compositing so you can iterate quicker and try bigger things. After a week of testing, I’m scrolling less and storytelling more — which is exactly the kind of A.I. upgrade that feels right.