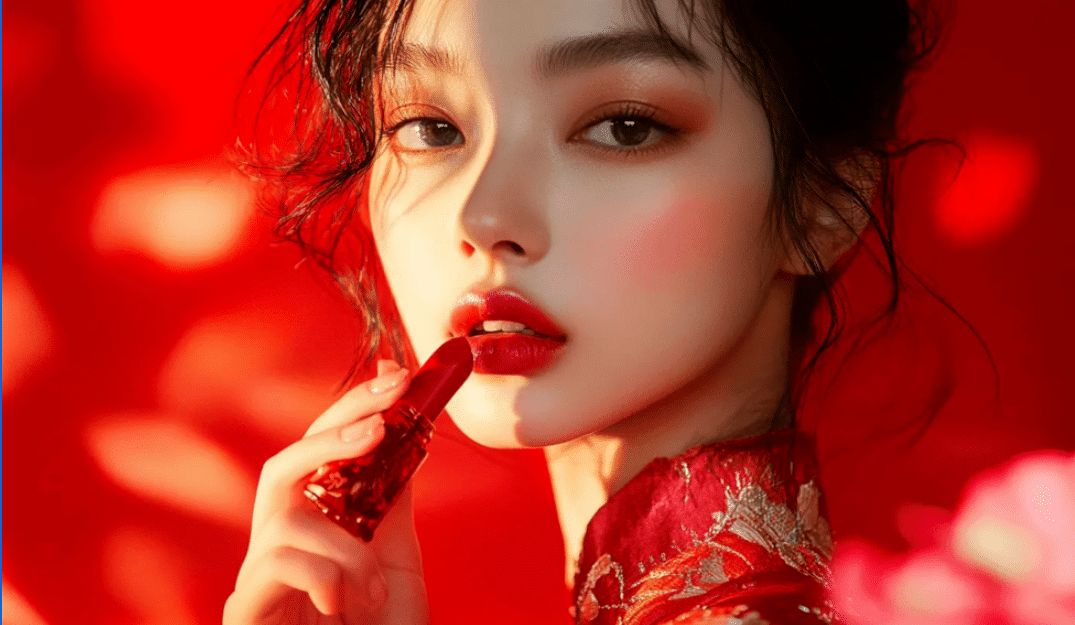
When video ads outperform static images but editing capacity is limited, the smartest move is to convert the photo assets you already own into motion variations you can test weekly. Many teams start by generating their first batch with image to video ai and use it to turn product shots into short clips in minutes, with the added benefit of being positioned as free, no sign-up, and watermark-free output.
Theme: Creative velocity for performance
This guest-post theme is creative velocity—shipping more testable variants per week without sacrificing brand consistency. Instead of betting on one “perfect” video, you build a pipeline that produces many small experiments, then doubles down only on what performs.
The advantage of creative velocity is compounding: every week you learn which hook, angle, and product framing works, and your library of winners grows. Over time, your creative process becomes a system, not a scramble.
The weekly workflow that actually scales
The purpose of an image-to-video workflow is not to replace professional editing forever—it’s to remove the bottleneck at the start of testing. A simple operating rhythm looks like this:
- Step 1: Build a source photo bank
Use 30–50 images that already represent your brand well: best sellers, hero shots, lifestyle scenes, and close-ups. - Step 2: Generate a test batch
Create 10–20 short variations using image to video ai, keeping each clip tight (often 6–12 seconds is enough to test a hook). - Step 3: Launch tests with one variable at a time
Keep the landing page and offer stable. Change one variable per batch: opening frame, on-screen text, or motion style. - Step 4: Scale winners, kill the rest
Only polish what earns it. This is where velocity turns into ROI.
This workflow is especially effective for ecommerce, DTC, app installs, and lead gen, because it produces enough variations — often by pairing creative tweaks like a video watermark remover — to make your test results statistically useful.
What to generate so it converts
A common mistake is generating motion that looks “cool” but has no job. Every clip you create with image to video ai should be assigned one purpose:
- Hook clips (attention)
Motion exists to stop the scroll. Use strong framing, fast clarity, and minimal messaging. - Proof clips (trust)
Motion reveals detail: texture, size, usage, before/after, or a quick demonstration. - Offer clips (action)
Motion supports the offer. Keep the message simple and the CTA singular.
If you build your batches around these three jobs, image to video ai becomes a conversion tool, not an effect generator.
Keep assets clean with a finishing step
As output volume grows, teams hit a second bottleneck: repurposing and cleanup. Draft exports, internal review versions, and recycled assets often carry unwanted marks or overlays, and that makes scaled campaigns look inconsistent.
A practical solution is to add a lightweight finishing step using an ai watermark remover—for example, running assets through ai watermark remover during final approval—so winners look brand-clean across ads, PDPs, email, and social. Supawork’s watermark remover page also lists supported formats and upload limits (including common image formats plus GIF and video types), which helps teams standardize inputs during production.
Just as important as speed is responsibility: only remove marks from assets you own, created in-house, or have explicit permission to modify. This keeps your workflow ethical, avoids platform risk, and protects brand trust.
In practice, the strongest teams treat image to video ai as the “variation engine” and the ai watermark remover step as “winner packaging.” That separation keeps you fast at the top of the funnel and polished where it matters.
Closing thought: If a campaign feels stalled, don’t start by asking for a bigger budget—start by increasing the number of quality creative shots you take each week. A simple photo-to-motion pipeline, paired with a clean final-mile process, is often the fastest path from “we need new ads” to “we found a winner.”