


The higher setting is an easy choice when someone else is paying and there is no deadline. For repeated work, GPT Image 2 high vs medium is a more practical question: does the difference improve the image at the size and in the context where it will be used?
Compare the settings on the same task before making one the default. A large illustration with fine detail may expose differences that a small decorative image does not. The answer belongs to a workload, rather than to the word “high” on a settings menu.
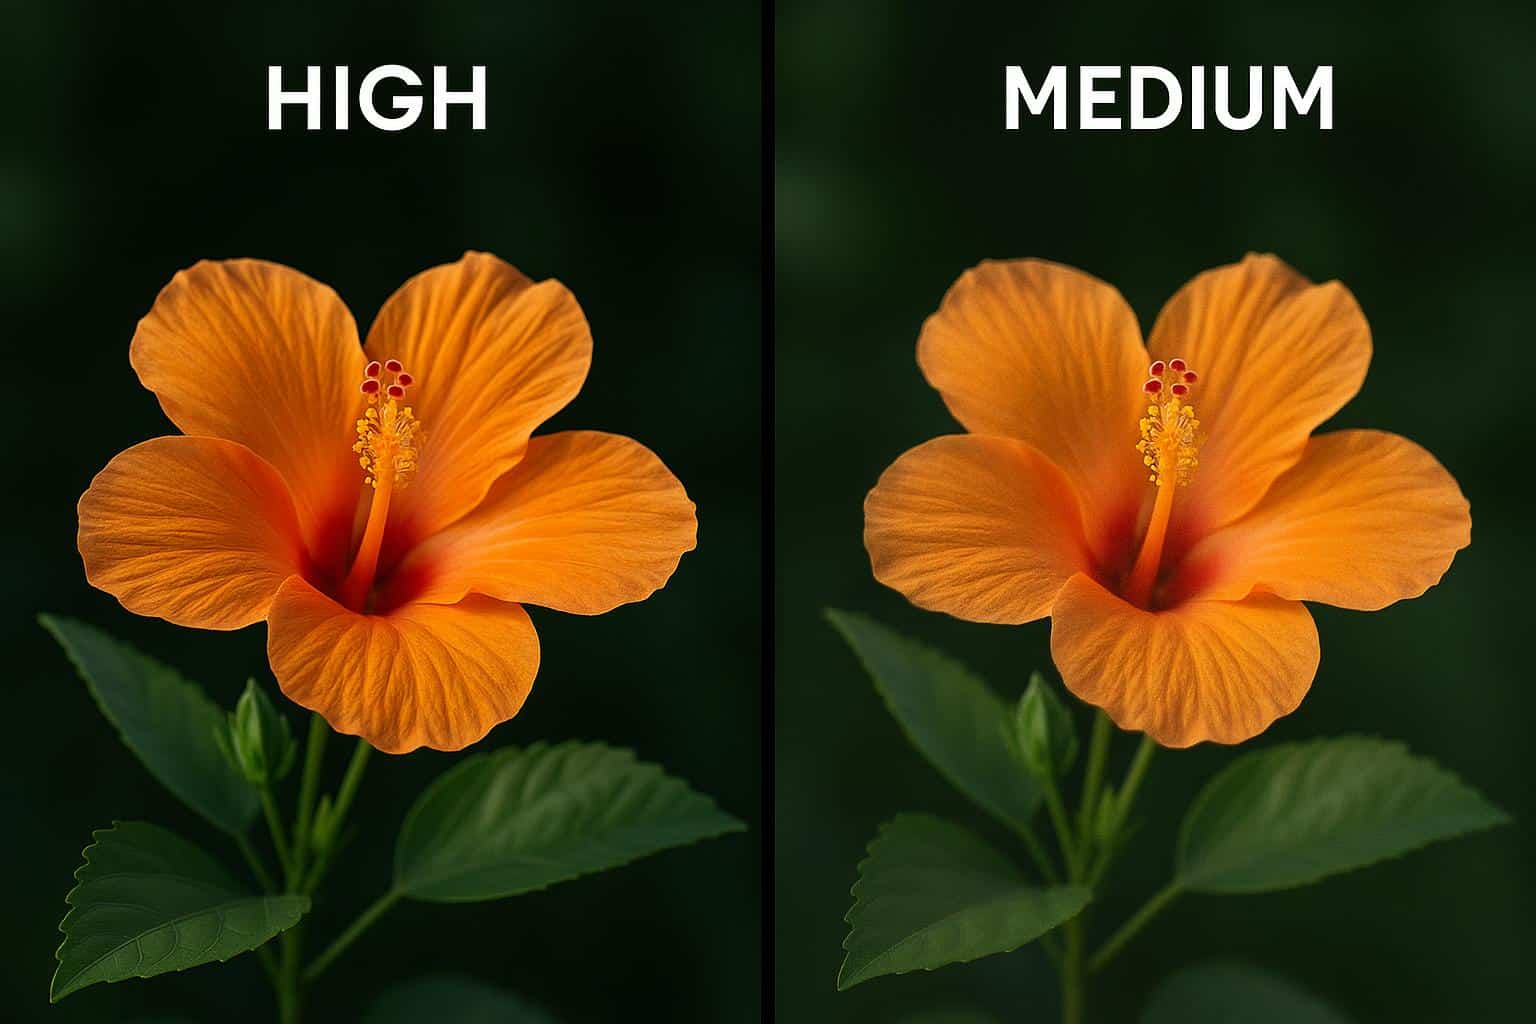
What GPT Image 2 high vs medium changes
OpenAI documents low, medium, high and auto as quality options for GPT Image 2. Quality and pixel dimensions are separate controls. Keep them separate in a comparison, and verify that the particular API route or application actually exposes the quality parameter.
A larger image at medium quality is not the same comparison as an identically sized image at high quality. Nor is an edited portrait directly comparable with a text-only request for a landscape. Match the input materials and settings except for the one variable you intend to examine.
Start with an image you regularly need. For an editorial site, that might be a simple room illustration with a few recognizable objects. For a design team, it could be packaging with small text. Do not choose an unusually difficult showcase unless that is representative of the real work.
Write the acceptance criteria before seeing the results. A room illustration might need coherent chair legs and clean edges, while a package image may require an exact product shape and readable wording. These requirements prevent an attractive but unusable image from winning the comparison on atmosphere alone.
Cost should come from the service’s current rates and actual request usage. Avoid assuming that the setting names imply a fixed price ratio across all dimensions and providers. Keep the charge or usage record with the corresponding result so the comparison remains auditable.
Build a comparison the final viewer would recognise
Use the same prompt, references and requested size for both settings. Save all returned candidates. Choosing only the best high-quality output while judging medium on its first attempt creates a biased comparison before you even begin.
Hide the setting labels during the first visual review if practical. Place the images in the final layout and note the specific defects or advantages you can see. “The small label is readable” is more useful than “this one feels premium.”
Then inspect at native pixel scale. This can reveal a detail that the layout conceals, but give it the appropriate weight. A flaw visible only at extreme magnification may be irrelevant to the published use. A misspelled word remains relevant even if the overall image looks excellent.
If the task is repeated, use several representative examples rather than a single lucky pair. Include the ordinary cases and the difficult cases that actually occur. Keep the exercise small enough to inspect carefully; accumulating outputs without reviewing them does not improve the decision.
Record editing time as well as generation results. An image that looks slightly better but needs a long repair may be less useful than another that is ready for the intended placement. Conversely, a higher setting may be worthwhile if it consistently removes a repair your team otherwise performs. That is something to measure locally, not assume.
Avoid changing the prompt in the middle of the quality comparison. If both settings miss the same requirement, the brief may need revision. Fix that problem and begin a new comparison with the revised prompt applied equally.
You can later include Nano Banana Pro as a separate model comparison, but keep that result distinct. A different model may have a different style, size menu and editing behavior. It cannot answer by itself whether medium or high is the better setting within GPT Image 2.
Choose a setting for the next batch
Choose a setting for each use. Medium may be sufficient for one kind of small supporting image while high deserves consideration for a detailed primary visual. These are candidate policies to test, not claims about a universal winner.
Keep an exception path. If the default output fails an important detail, decide whether to revise the prompt, try a higher setting or finish the image manually. Raising quality should have a reason connected to the observed defect. It is unlikely to supply information that the prompt never included.
Record the chosen setting beside a few approved examples and a short explanation. “Medium accepted for these small room illustrations; high reviewed when fine lettering is required” gives a colleague a starting point. A rule saying “always use the best” leaves cost and timing unresolved.
Revisit the decision when the work changes or the service updates its model route. A result from one application configuration should not be silently transferred to another. Preserve the date and settings of the comparison so its limits are clear.
GPT Image 2 high vs medium is worth testing at the point where the image becomes useful to someone. Judge the real layout, the repairs required and the recorded spend. Then choose a default that suits the next batch, with a clear reason to depart from it.