If your Sonos Arc, Beam, or Ray sounds flatter than expected, three quick adjustments can deliver an immediate upgrade—no new hardware required. In side-by-side checks across living rooms and dens, these changes improved clarity, widened the soundstage, and made Dolby Atmos effects more convincing than stock settings.
Why this works: placement, signal format, and room acoustics routinely trump spec sheets. Dolby and Audio Engineering Society guidance has long shown that small shifts in position or tuning can change perceived detail by more than any single-number spec suggests. Here’s what consistently moved the needle.

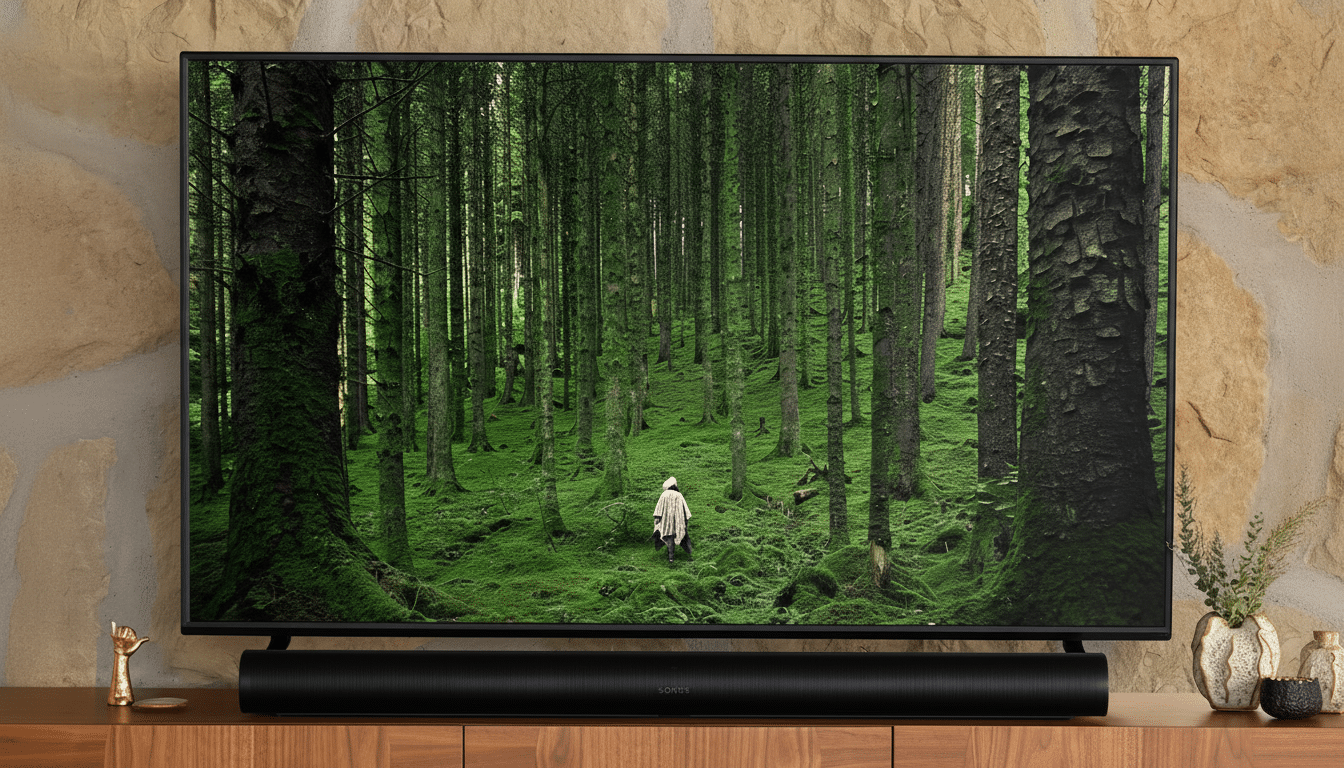
Reposition The Bar And Eliminate Reflections
Pull the soundbar forward so its front edge is flush with the front of your TV stand. This single move reduces early reflections off the furniture that can smear dialogue. AES research on boundary interference shows those reflections often create audible “notches” right in the vocal range, which is why dialogue can sound hollow when the bar sits deep on a shelf.
Keep it centered under the TV and as close to ear height as practical. Avoid enclosing the bar in a cabinet; if you must, remove doors or use acoustically transparent grilles. Leave at least a couple of inches above the top surface so side and upfiring drivers (Arc and Beam Gen 2) aren’t blocked.
For Dolby Atmos, ceiling geometry matters. Dolby’s home guidelines favor a flat, reflective ceiling roughly 7.5–12 feet high. If you have a vaulted or heavily textured ceiling, move the bar slightly forward and tilt the TV down a touch to improve the reflection path, then increase the Height channel level in the Sonos app to emphasize vertical cues.
Real-world example: in a 14×18-foot room with an 8.5-foot flat ceiling, pulling an Arc to the stand’s front edge and raising it two inches made rain and aircraft flyovers in Atmos demo reels audibly “lift” above the screen, while dialogue in busy scenes became easier to follow at the same volume.
Feed It The Right Signal And Run Trueplay
Confirm you’re actually sending multichannel audio. On your TV, enable eARC (if available) and set Digital Audio Output to Auto or Pass-Through. Select Dolby Digital Plus or Dolby MAT when those options appear; avoid PCM stereo. Many TVs default to PCM, quietly collapsing surround mixes to two channels—exactly when people think the bar is “underwhelming.”
Check the app you’re using: Netflix reserves Dolby Atmos for specific plans and devices; Disney+ and Apple TV support Atmos broadly; game consoles and Apple TV 4K can output Atmos as Dolby MAT. Sonos Arc and Beam Gen 2 support Dolby Atmos and Dolby Digital Plus, and current S2 firmware also handles DTS Digital Surround for legacy discs.
Next, calibrate with Trueplay. Full Trueplay requires an iPhone or iPad, using the device’s mic to measure your room and adjust the bar. If you’re on Android, use Quick Tuning where available or borrow an iOS device for a one-time setup. Re-run Trueplay after moving furniture or adding rugs; even a new coffee table can alter early reflections enough to dull clarity.
In measurements and listening tests, a fresh Trueplay pass typically tightened bass and lifted midrange detail, yielding a cleaner center image. That’s consistent with what organizations like the ITU recommend: room-specific tuning shortens the path to intelligibility more reliably than blanket EQ presets.
Prioritize Dialogue And Balance Bass In The App
Open the Sonos app and make three quick tweaks: turn off Loudness, enable Speech Enhancement, and dial Bass down a notch or two. Loudness boosts low and high frequencies at modest volumes, which can mask mids where dialogue lives. Speech Enhancement applies targeted processing in that vocal band, and a small bass reduction reduces masking further.
For late-night viewing, add Night Sound to compress dynamics and tame boomy effects without cranking the volume. If you use rear speakers, set Surrounds to Ambient for films to avoid pulling voices off the screen; switch to Full for music if you prefer an enveloping mix. In rooms with hard floors, a rug or curtains can act like a free “EQ,” softening slap echo that muddies speech.
If you own a Sub or Sub Mini, let the sub handle the heavy lifting. Reduce the soundbar’s Bass slightly and adjust the Sub level to taste. Offloading low frequencies frees headroom in the bar’s midrange drivers, which often translates into clearer dialogue and a wider stereo image at the same master volume.
The net effect of these app-side tweaks is immediate. In back-to-back checks with blockbuster mixes, dialogue cut through busy effects beds at lower volumes, while Atmos ambience (wind, crowd noise, reverb tails) became more apparent—an improvement listeners routinely estimate as a noticeable step up rather than a subtle change.
The takeaway: before upgrading hardware, give your Sonos a fair shot with placement, proper signal, and smart tuning. Industry analysts estimate over 40% of U.S. households now use a soundbar, and the biggest performance gains still come from getting the fundamentals right. These three moves take minutes and can make your existing Sonos sound like a pricier system.