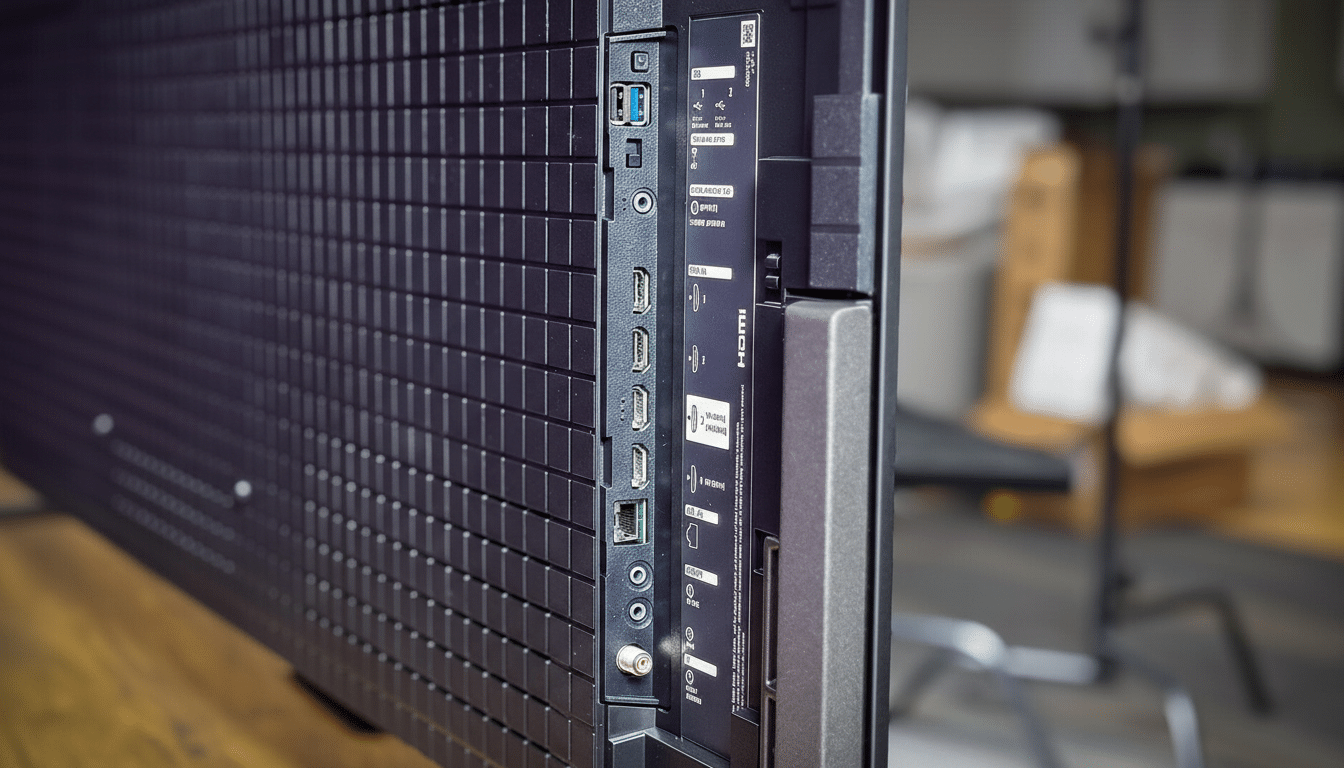
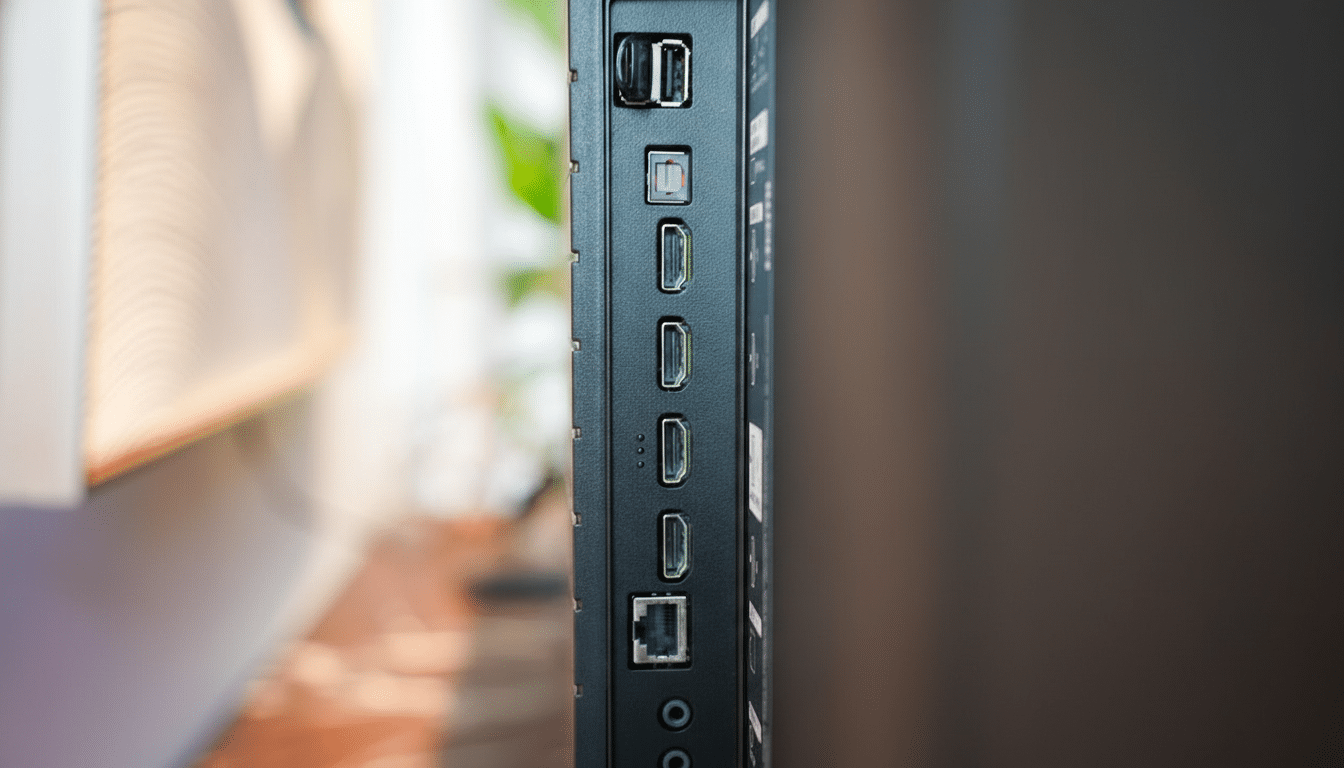
Look past the HDMI inputs on your television and you will find a humble USB port that can quietly transform how you use your screen. As smart TV adoption has surged—industry analysts at Parks Associates report that a majority of U.S. broadband households now own one—manufacturers have standardized USB as a low-cost gateway to storage, accessories, and even critical maintenance.
From effortless photo shows to wired networking, the TV’s USB port is more capable than most owners realize. Here are five practical upgrades hiding in plain sight, along with expert tips to get the best results.
Play Media and Slideshows Directly From a Drive
Plug a flash drive or portable SSD into your TV and most sets will auto-launch a media browser. That means easy playback of photos, home videos, and music without burning phone battery or wrestling with casting. Many TVs natively handle MP4 and MKV video, MP3 and AAC audio, and JPEG or PNG images; for 4K files or unusual codecs, check your model’s manual for supported formats.
For smoother performance, format the drive as FAT32 or exFAT and let the TV read files directly rather than copying them into limited internal storage. That keeps the cache clear and reduces slowdowns. A 64GB drive can house thousands of high-resolution photos for a family slideshow, and the television’s remote makes it simple to pause on memorable shots.
Pause and Record Live TV with USB PVR Features
In many regions, especially where DVB tuners are common, manufacturers like Samsung, LG, and Sony support USB HDD recording and timeshift. Connect a USB hard drive and you can pause live broadcasts, schedule recordings, and rewind—turning the built-in tuner into a personal video recorder without a subscription.
There are caveats. Most TVs require a dedicated USB hard disk for consistent write speeds, and recordings are typically encrypted to the TV for content protection, so you cannot play them on a computer. Availability varies by market and channel type, so consult your model’s specifications and local broadcast standards.
Power Streaming Sticks and Accessories via USB
A TV’s USB port can supply power to compact devices—think streaming sticks, HDMI wireless receivers, or bias lighting. According to USB-IF specifications, USB 2.0 delivers 5V at up to 0.5A (2.5W) and USB 3.0 up to 0.9A (4.5W). That is often enough for basic accessories and some streaming dongles, reducing cable clutter and freeing wall outlets.
Be mindful of power demands. Many streaming sticks ship with 1A to 1.5A adapters for a reason; underpowering can cause reboots or sluggish performance. If your TV offers “USB power in standby” or “always on USB,” enable it to keep accessories stable. For anything finicky or warm to the touch, stick with the included wall adapter.
Add Peripherals and Wired Ethernet Through USB
Text entry on a remote is slow. Plug a USB keyboard, mouse, or a 2.4GHz wireless dongle into the TV and most sets will recognize standard HID peripherals, making searches, passwords, and web browsing far easier. On Android TV and Google TV models, many UVC webcams also work with compatible apps, enabling couch video calls when supported. Amazon’s Fire TV platform similarly supports select webcams for conferencing apps.
If your Wi‑Fi is congested, a USB-to-Ethernet adapter can be a game changer. Numerous Android TV and some Google TV models support common chipsets, giving you a steady wired connection for 4K streams. Check your TV’s support page for adapter compatibility, and use a short, high-quality USB cable to reduce dropouts.
Update Firmware Offline and Fix Common TV Bugs
When Wi‑Fi is unreliable—or the TV is not a smart model—the USB port is the safest path to firmware updates. Manufacturers routinely ship USB-updateable packages that patch security flaws, improve HDMI handshake stability, refine eARC audio, and add new features. It is the maintenance step most owners skip, yet it can solve long-standing issues like random reboots or lip-sync drift.
The process is straightforward. Visit your TV maker’s support page, enter the exact model number, download the latest firmware, and extract it to a USB drive formatted as FAT32 or exFAT. Insert the drive, follow on-screen prompts, and do not power off during installation. If your TV offers “local update” in its settings, that is the menu you want.
Whether you want a better slideshow, a DIY DVR, cleaner cable management, snappier typing, or rock-solid updates, the USB port on your TV can deliver. Use the right drive format, respect power limits, and verify app support, and that overlooked connector becomes one of the most versatile features in your living room.