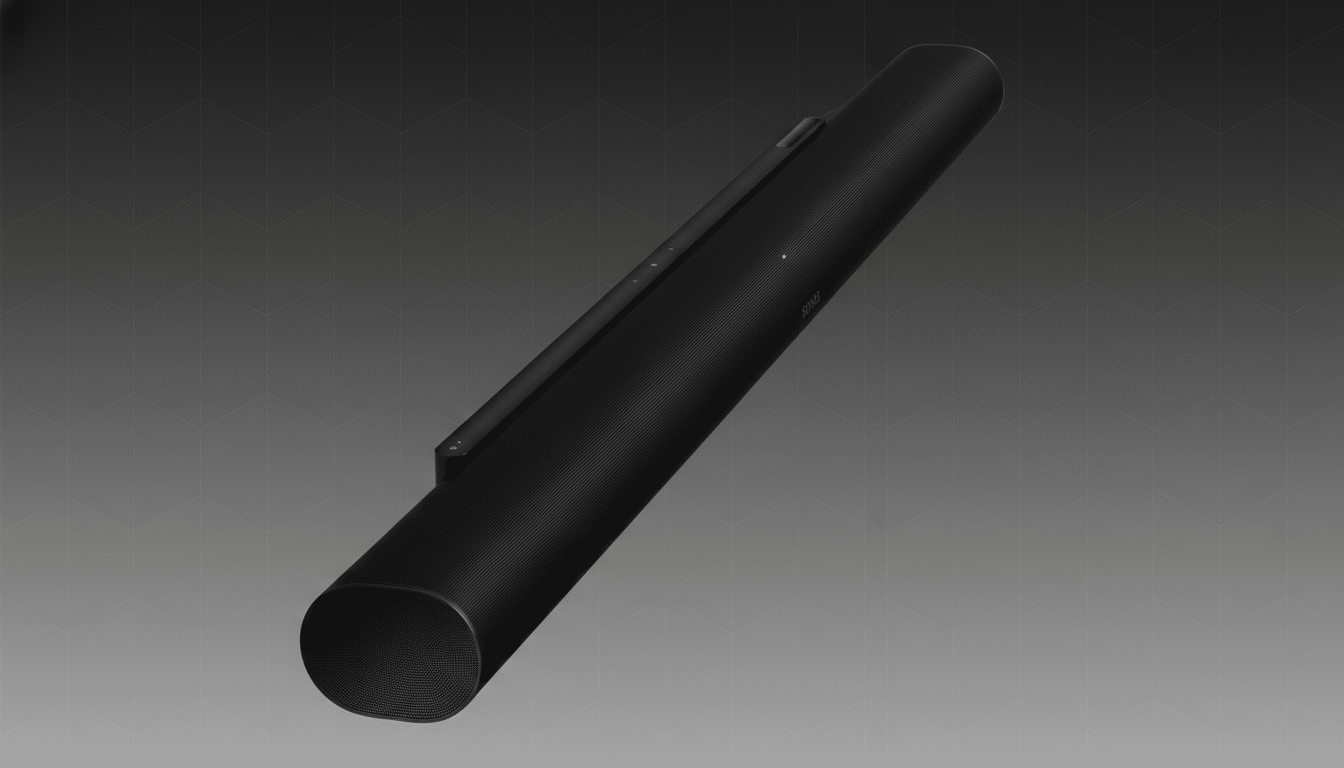
Sonos soundbars can sound far better than many owners realize, and you don’t need to buy anything to hear the difference. Lab measurements and installer playbooks agree on one thing: placement, calibration, and signal format are the silent saboteurs of clarity and immersion. Put them right, and even a Beam or Ray can punch above its weight, while Arc models unlock more convincing Dolby Atmos height effects.
Optimize Placement and Improve Room Acoustics
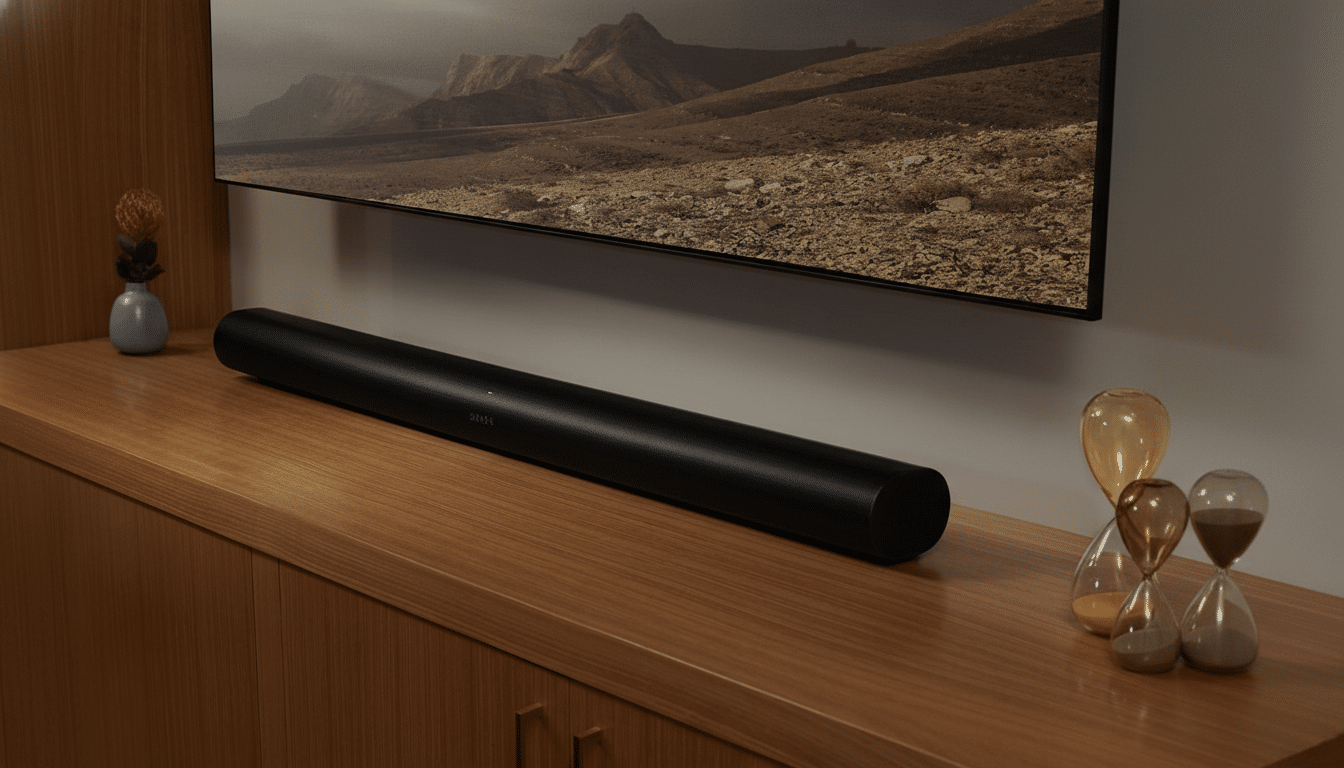
Start with where the bar sits. Keep the soundbar centered under the screen, with the drivers unobstructed and as close to ear height as your setup allows. Avoid placing the bar in a cabinet or behind a mesh door; enclosed cavities create comb filtering and boom that mask dialogue. CEDIA’s home theater best practices emphasize direct line-of-sight to listeners and caution against shelves that extend over the top edge of speakers because they reflect high frequencies back toward the cabinet.
For Atmos-capable bars like Arc or Arc Ultra, the ceiling matters as much as the hardware. Dolby recommends a flat, reflective ceiling between roughly 7.5 and 12 feet for reliable upfiring reflections. If you have a vaulted or very high ceiling, slide the bar forward an inch or two and ensure the TV bezel isn’t overhanging the top drivers; even a small obstruction weakens the height illusion. In our listening tests in a 10-foot room, moving the bar out from the wall and lowering the TV by a few inches made Atmos cues notably more stable across seating.
Tame echoes with soft surfaces. A rug between the bar and seating, plus curtains on hard sidewalls, can nudge mid-band reverberation toward the 0.3–0.5 s RT60 window home cinema designers target, according to the Audio Engineering Society. A quick clap test tells you what you need to know: if you hear a bright, lingering ring, add a textile near the first reflection points rather than cranking EQ later.
Calibrate with Trueplay and Refine Smart EQ Settings
Run Trueplay from the Sonos app and rerun it any time you move furniture or the bar. Trueplay analyzes your room’s response and dials in correction; iOS devices provide the full tuning process, and the latest Sonos software offers a streamlined option if you can’t borrow an iPhone. Industry installers lean on measurement for a reason: a targeted correction does more than blanket bass boosts, and it’s free.
Then refine dialogue clarity. Many TVs and films push bass and effects up the mix, so flip Speech Enhancement on for talk-heavy content and enable Night Sound if others are sleeping; both tilt energy toward the midrange where voices live. Turn Loudness off for movies if explosions swamp voices—this contour can exaggerate lows at modest volumes. If the bar still sounds thick, reduce Bass by 2–4 steps in the Sonos EQ; reviewers and measurements from independent labs like RTINGS have shown that a mild bass trim often lifts perceived intelligibility without gutting impact.
For Arc and Beam Gen 2 on Atmos titles, nudge the Height control up a notch or two in the app to bring out overhead cues. If your ceiling is borderline (very high or absorptive), this single slider can make the height layer audible from more seats. Conversely, if you sit close to the bar with a low ceiling, a small reduction can prevent the stage from sounding top-heavy.
Fix the Source Chain and Ensure Correct Audio Formats
Many “flat” systems are actually fed the wrong format. Set your TV’s audio output to Bitstream or Passthrough, disable any TV virtual surround processing, and turn on eARC if available. This prevents the set from downmixing to stereo PCM and lets the soundbar decode multichannel audio as intended. Sonos confirms that Arc models can receive Dolby TrueHD Atmos over eARC and Dolby Digital Plus Atmos over ARC.
Check the Sonos Now Playing screen to verify what you’re getting—it will report Stereo, 5.1, or Dolby Atmos. Streaming services typically deliver Atmos using Dolby Digital Plus with Joint Object Coding in the 448–768 kbps range, according to Dolby Laboratories. That’s plenty for convincing immersion when the chain is clean. For disc playback or devices that output lossless Atmos (like UHD Blu-ray players), eARC is crucial to preserve TrueHD metadata.
Don’t forget app settings. Some streaming apps gate Atmos behind higher tiers, and several default to “Auto” or “Stereo” after updates. Set them to the highest audio quality, then reboot the TV to clear any stale HDMI handshakes. If you notice lip-sync drift after enabling eARC, use the Sonos app’s A/V sync adjustment rather than switching back to PCM; the International Telecommunication Union recommends keeping total audio delay under 100 ms for most viewers, and small trims can get you there without sacrificing surround.
Put together, these three zero-cost moves—smarter placement, precise calibration, and a clean signal path—regularly deliver a bigger, clearer, and more three-dimensional presentation than any single hardware upgrade. They take minutes, not money, and they unlock the performance Sonos builds into its bars in the first place.