If your Samsung Galaxy suddenly doesn’t want to charge, don’t rush to the nearest store for a new charger. The good news is most power issues are easily resolved, caused by remediable suspects: grunge, moisture, or maybe a finicky cable. Repair technicians constantly have such cases resolved in minutes at home, not days. Here’s a focused, expert playbook with six proven steps to get your phone taking power again.
1. Check and clean the USB-C port to restore charging
For USB-C ports, pocket lint, sand, and dust are public enemy number one. Even a minute amount of debris can prevent the plug from seating completely, covering the power pins and eliminating fast charging — sometimes any charge at all.
- 1. Check and clean the USB-C port to restore charging
- 2. Force a reboot and eliminate software hangs
- 3. Change the charger cable and outlet for testing
- 4. Remove trapped moisture and let it dry thoroughly
- 5. Try wireless charging or a gentle low-power revive
- 6. Consider battery or port service and diagnostics
- Pro tips to keep the next charging scare at bay
Shine a torch into the port. If you see any fibers or grit, turn the phone off and give it short blasts of compressed air. Stubborn lint can be gingerly picked out using a wooden toothpick. Do not use a metal tool to avoid bending pins. The USB Implementers Forum rates USB-C for as many as 10,000 insertions, but that assumes a perfectly clean and undamaged connector; contamination reduces real-world reliability.
2. Force a reboot and eliminate software hangs
“Dead” phones are sometimes not dead at all — they’re frozen. The adapter negotiates charging with the firmware, and a hung OS can prevent power. Hold down the Volume Down and Power buttons for 10–20 seconds to force a restart. When the Samsung screen appears, hook up a charger as soon as you can and keep an eye on the charging icon.
While you’re at it, check for system updates, and open the Samsung Members app diagnostics to test battery and cable health as well.
Also read our review of One UI’s “Protect Battery” setting, which stops your battery at 85% charge. It’s not going to stop charging completely, but knowing these protections can help clear up any confusion when your phone apparently “stalls out.”
3. Change the charger cable and outlet for testing
Bad cables are the silent charge killer of the modern age. Internal breaks or corroded contacts might permit a trickle of power, but fail the higher current required for fast charging. Use another wall adapter and a known-good USB-C cable to try with your device; use a different one if it still does not work, then check another wall outlet to rule out a bad power strip.
For Galaxy phones that have Super Fast Charging, you need a USB PD PPS charger — 25W or 45W — as well as some quality cables (5A with an e-marker chip at least). Underpowered or non‑PPS chargers won’t typically stop charging completely, but they definitely can make a drained phone appear “stuck” as it slowly comes back to life.
4. Remove trapped moisture and let it dry thoroughly
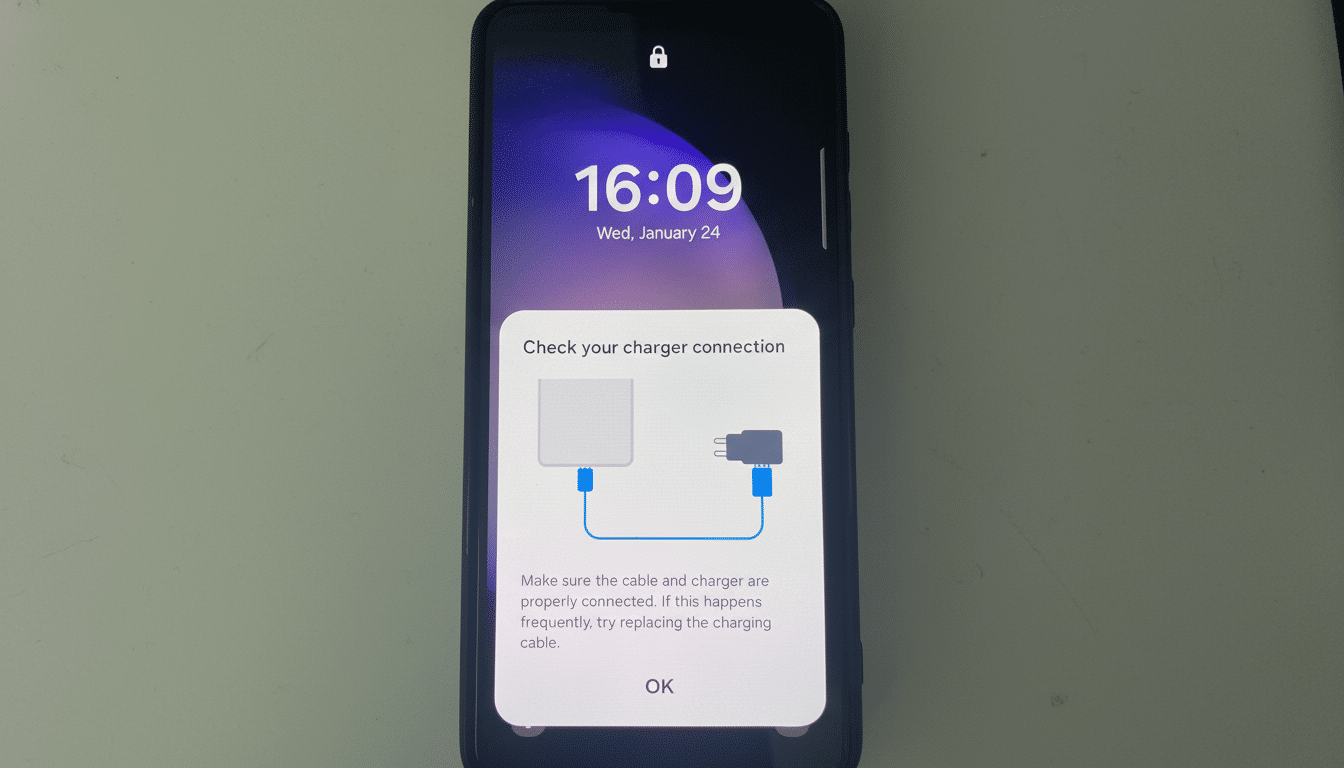
If the phone senses liquid in the USB-C port, One UI will block charging and show a moisture warning. Even just high humidity or sweat can cause it. If your device became wet, power it down, disconnect the cable, and allow it to air-dry port side down on a towel. A fan accelerates evaporation; steer clear of heat sources and don’t listen to the rice myth.
Recent Galaxy models have IP67 or IP68 ratings, which means they are protected against fresh water in laboratory tests, not pool chemicals or saltwater.
After you have wiped it, wash it in fresh water, shake slightly, and wait until the warning vanishes before charging again.
5. Try wireless charging or a gentle low-power revive
Wireless charging is a good diagnostic. Lay the phone on a Qi-enabled pad for a few minutes. If it’s working wirelessly and not with a cable, then the problem probably involves the USB-C port or the wiring of that part.
A low-power “trickle” can be beneficial for a deeply discharged battery. Plug into a regular 5V USB port — on a charger, a laptop, or a PC — for about 20–30 minutes, then give it more time without a fast charger. If the battery icon appears then disappears, wait longer; lithium-ion protection circuits can be slow to wake up from hibernation.
6. Consider battery or port service and diagnostics
Hardware does wear out. Lithium-ion cells tend to hold about 80% capacity after around 500 full cycles, battery research labs say, and charge ports can loosen or oxidize over years. If you experience a loose connection, loss of data transfer, or no fast charging when you use your device with a new cable and adapter, it means that the port assembly is damaged.
Official service centers can swap a Galaxy battery or USB-C daughterboard in no time, and for under $100 in most cases, based on the model and region. The repair may be no‑cost if your phone is still in warranty or you’re covered by device protection. First, back up your data and have the tech run a full charging and thermal diagnostic.
Pro tips to keep the next charging scare at bay
Keep the port clean, don’t yank cables out, and try not to charge right after getting it wet. Stay the hell away from cheap USB PD PPS chargers and cables. And if your Galaxy gives you moisture alerts or refuses to fast charge, think of it less as failure and more a defense mechanism — the phone is trying to save itself.
If you follow these six steps in order, you’ll fix almost all charging problems at home. If they all test good in the system, you can narrow down what’s wrong with your phone port quickly and get charging again without replacing your entire device.