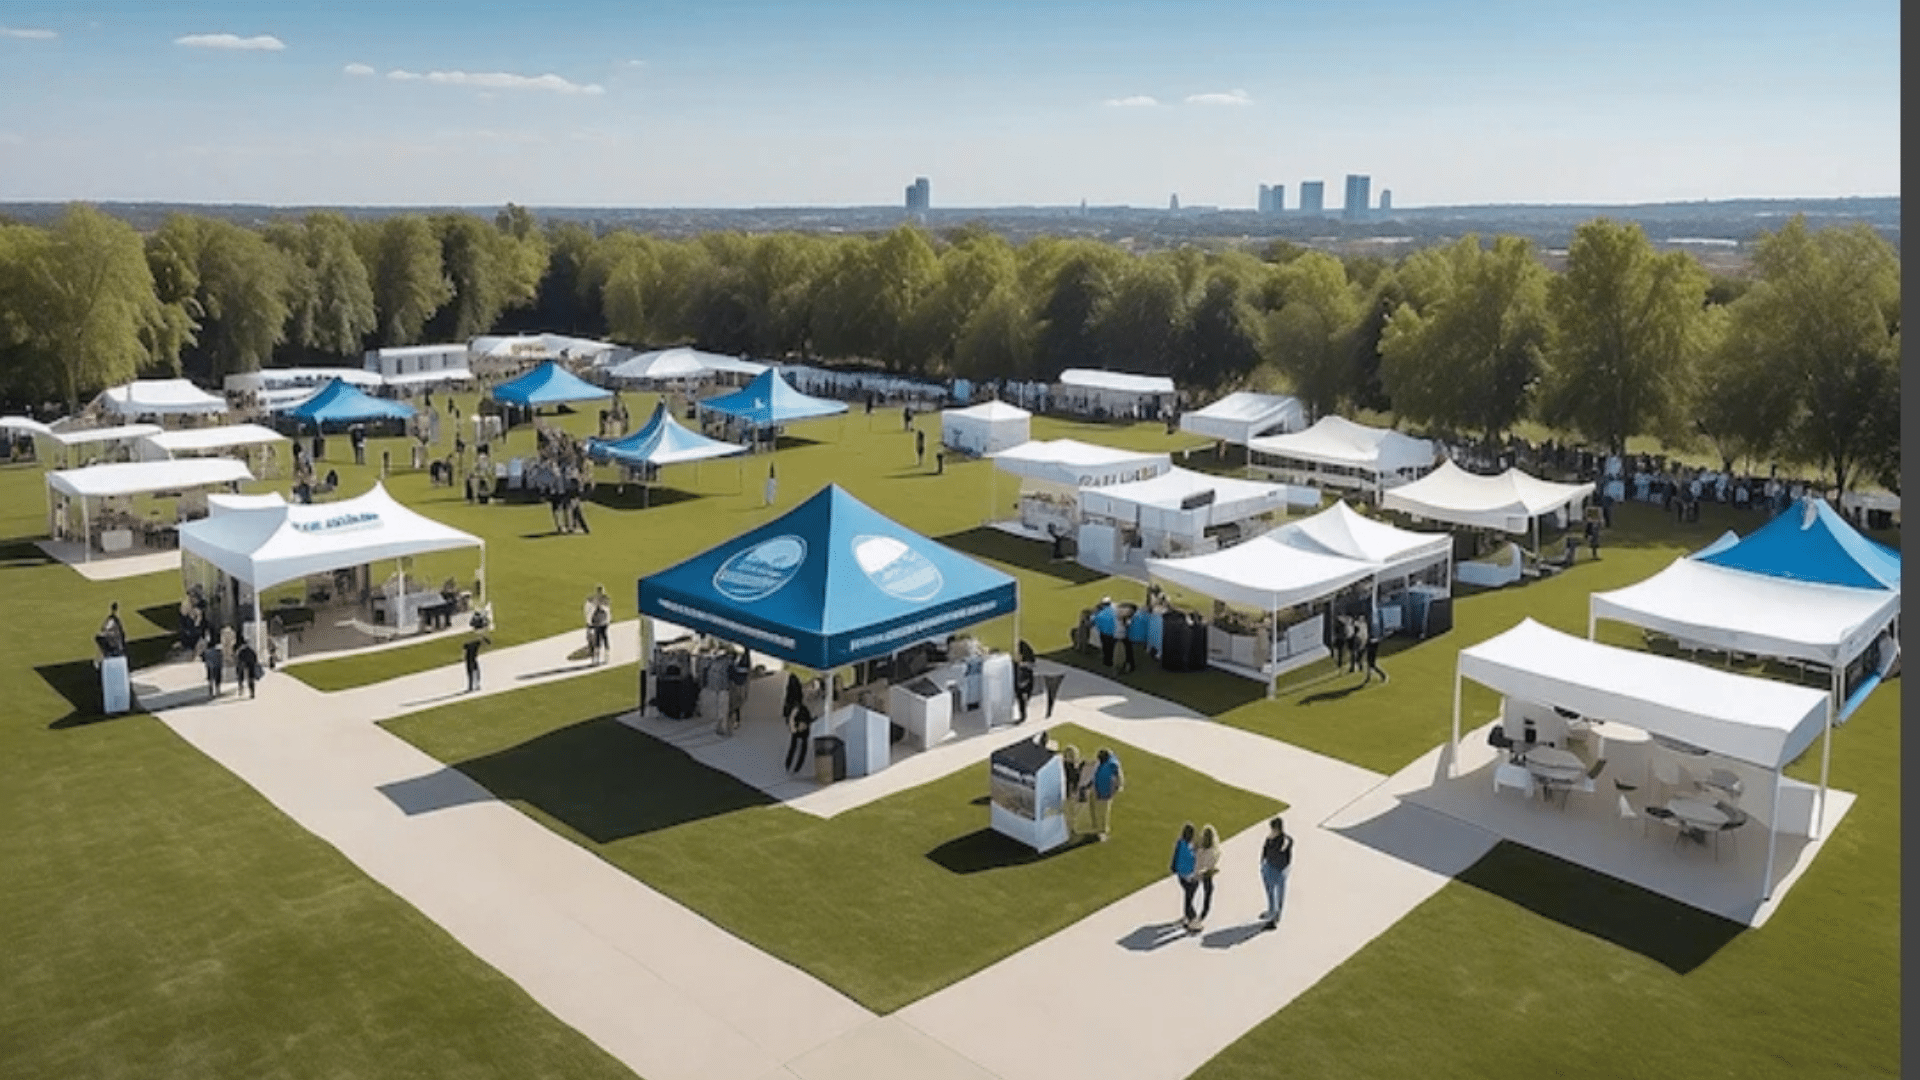
At busy trade shows and outdoor shows, tent construction is often seen as a non-problematic procedure rather than a serious safety and branding measure. The wrong installation is, however, likely to result in ruined buildings, bad displays, and unnecessary safety hazards. When it comes to brands that require exhibition tents, whether custom-made or rented, accuracy in setting up plays a direct role in determining professionalism and durability. Compact showcases to a 10 x 10 canopy; each offers the benefit of a disciplined design that focuses on stability, efficiency, and mistake avoidance. An effective design not only secures equipment and people but also makes the tent a reliable brand asset throughout the event.
Eight Essential Tips for Safe and Error-Free Tent Setup
1. Begin with a Visual Inspection of All Components
The inspection of every piece of the frame or fabric before unfolding provides the basis of a safe setup. Frames, joints, connectors, and fabric panels are to be inspected for cracks, bends, rust, or weakened stitches. This process would be necessary to ensure that high-usage items, such as a printed pop-up tent, do not place strain on mechanical components due to the repeated movement and setup. Early detection of small flaws that do not cause structural imbalance minimizes the risk of failure after the tent has been fully set up.
2. Assemble on a Level and Debris-Free Surface
Tent stability is affected greatly by the ground conditions. Uneven ground subjects the joints of the frame to uneven pressure, making them wear out more easily and collapse. Stones, cords, sharp materials, etc., that may puncture the piece of fabric or disrupt the positions of the feet should be removed before installation, as well. Non-slip mats or rubber feet can be placed on hard indoor floors to give them grip and avoid movement. Even contact of legs on outdoor surfaces spreads the weight evenly and increases the structural integrity.
3. Follow the Recommended Expansion Sequence
The majority of commercial tent frames are designed with the capacity to grow in a certain order. When this order is ignored, the joints may be strained, leading to misalignment. It is better to partially enlarge frames, with all legs straightened, and then lock the mechanisms. The approach preserves equilibrium and prevents the forces of imbalance, which undermine the building over time. Slow, steady growth also helps point out the problems of alignment sooner, so that the final arrangement would be much easier and safer.
4. Secure Locking Mechanisms Before Adding Fabric Tension
Pins, sliders, and brackets are crucial in ensuring the stability of the tent. These mechanisms ought to be completely mobilized and cross-referenced, and then tension exerted using the canopy cloth. Early tension of fabric in an open frame has been known to draw the joints off-center or suddenly collapse. When locking is established, fabric installation is controlled and accurate, resulting in a taut, professional look without overstraining the building.
5. Anchor the Tent According to Environmental Conditions
Even in apparently peaceful places, anchoring is not a choice. An unsecured tent may be blown away by wind, people passing by, and any accidental bumps. The weights, stakes, or ballast systems must be chosen depending on the surface type and weather conditions. The heavier anchoring of outdoor arrangements can be used against the unpredictable gusts, whereas indoor facilities can be content with the use of inconspicuous weighted bases that would not damage the floors.
6. Install Fabric Panels with Even Tension
Lack of fabric tension causes the fabric to appear unprofessional and also influences performance. Stretched-out seams may tear, and loose areas blow in the wind and stretch out attachment points. The fabric is to be sewn up, alternating sides to avoid excessively straining one side. This compromise will maintain fabric quality and ensure uniform brand exposure. Even tension also enhances water runoff in light rain, which will avoid pooling, which can be an additional weight to the canopy.
7. Conduct a Stability Check Before Display Setup
A stability test is made after finishing the assembly of the tent. This is done by applying force at every corner and along the frame to show where it is weak or loose. Any movement ought to be met with an immediate adjustment of the anchor or reuse of the locking mechanisms. This proactive test is to make sure that the structure is free to support other components like lighting, signage, or shelving without compromising. All display features are based on a solid tent.
8. Assign a Clear Disassembly and Storage Process
Safe setup is not confined to the event. Good disassembly will save the tent from being used later and minimize wear on the tent. Clothing must be taken out of the frame before locating it in a heap to avoid snagging. Frames are to be folded as per the instructions given and not to be forced, among other things, to bend the joints. Dry storage will avoid corrosion and deterioration of clothes. Having a regular teardown procedure would mean that every new configuration will be fast, safe, and without errors.
End Point
An efficient and safe tent set is a strategic activity, not one done at the last minute. Exhibition tents perform the same way in all events through component inspection, adherence to the assembly sequence, use of anchors, and even tension. These eight tips will minimize risks, extend equipment life, and ensure brand presentation is not lost. When the setup process is guided by safety, exhibition tents become trusted, professional constructions that facilitate a successful trade show experience without jeopardy.