That pile of DVDs on your shelf is not just nostalgia — it’s a precarious archive. Discs die and new devices rarely come with a disc drive, after all. The good news: If you adopt a preservation-first workflow, then yes, DVD-Video can be converted to MP4, MKV, and other formats without any noticeable loss of quality.
It’s not about upscaling SD video into miracles. It’s extracting the original video, audio, chapters, and subtitles, buzz-free, then transcoding it to a compatible, future-proof version for regular viewing (all the while keeping a pristine master copy).
- ‘Whether You Lose Quality Is Another Matter’
- The Tried and Tested Two-App DVD Ripping Workflow
- Choosing MP4 or MKV Containers and Managing Audio
- Handling Subtitles, Chapters, and Essential Metadata
- File Sizes, Encoding Speed, and Practical Hardware Tips
- Legal Considerations and Important Preservation Notes
- Archive First Then Optimize For Daily Viewing

‘Whether You Lose Quality Is Another Matter’
A DVD-Video disc stores video in MPEG-2 format (with a maximum bitrate of 9.8 Mbit/s), utilizing 720×480 pixels per frame on NTSC and 720×576 pixels per frame on PAL/SECAM. You can’t invent detail that’s not there, so the best you can hope for is to avoid re-encoding the video at all. It’s what you call a remux: copies the elementary stream into a new container (MKV) with zero loss.
Transcoding (re-encoding) down to H.264 or H.265 can shrink file sizes radically, but it’s a lossy process by nature. Through careful settings, however, it can be virtually indistinguishable from the source on most displays.
The Tried and Tested Two-App DVD Ripping Workflow
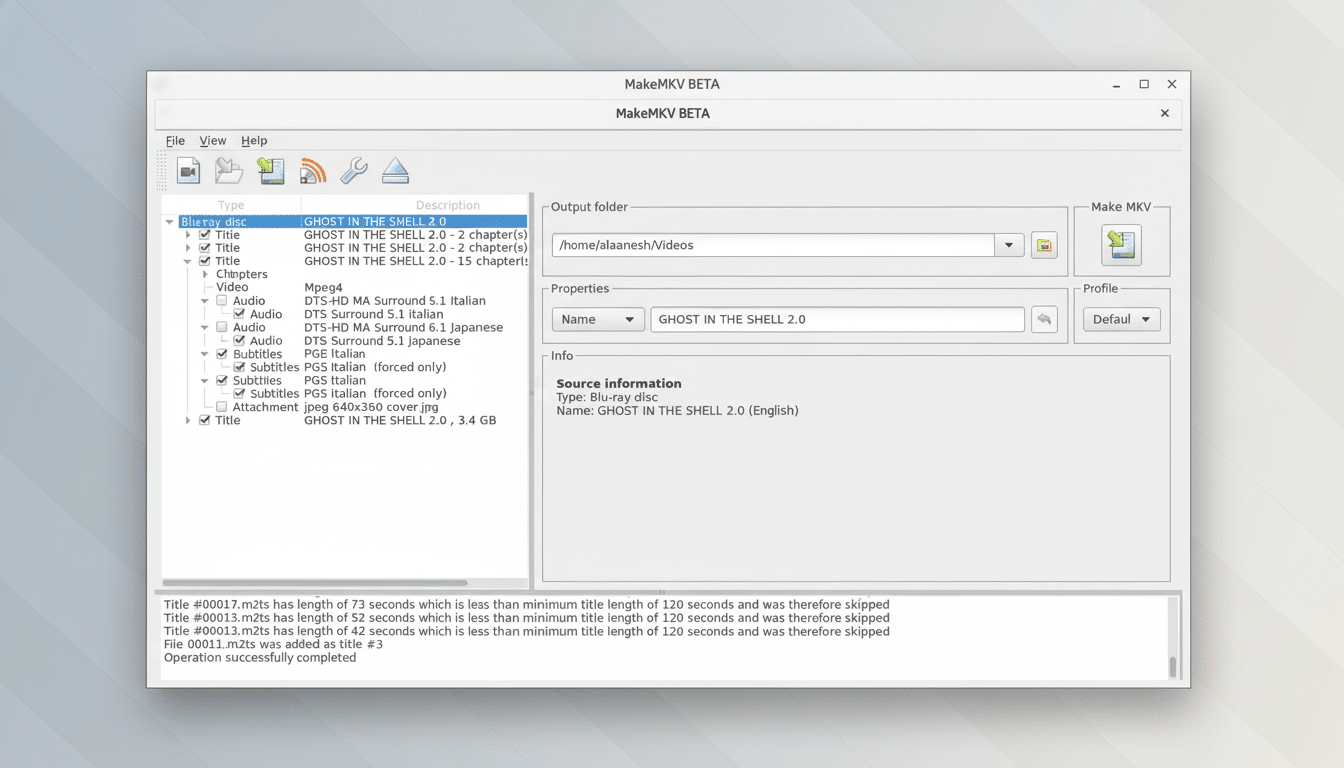
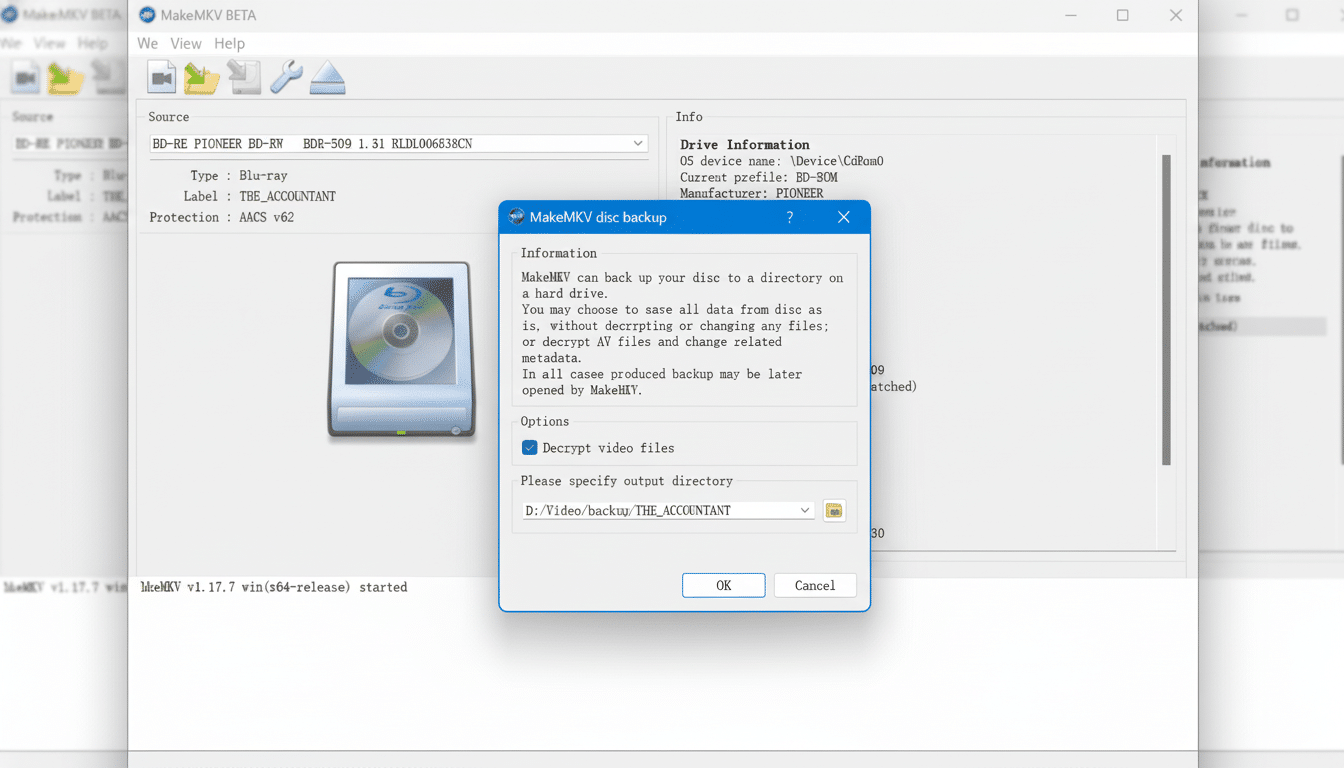
First, extract a lossless master. Tools like MakeMKV can load the main movie and remux to an MKV without doing anything to the video/audio. This retains the original MPEG-2 video, multichannel audio (if present), chapter markers, and VobSub subtitles. Consider this your “digital negative.”
Second, create a viewing copy. The transcode off the master should be done on a high-quality encoder, i.e., HandBrake or FFmpeg. For H.264, CRF 18–20 can result in great quality with the “slow” or “slower” preset. For file size, H.265 can be 20–40% smaller for the same perceived quality, but it’s slower to encode.
Deinterlacing and detelecine matter. Many DVDs are interlaced or telecined: enable the right filters so that motion looks good on an LCD. Test a short sample to fine-tune settings before batch jobs.
Choosing MP4 or MKV Containers and Managing Audio
MKV is the most versatile container for preservation — multiple tracks, subtitles, and chapters are standard. MP4 is more compatible with devices (TVs, tablets, gaming consoles) while less tolerant of some subtitle and audio formats.
For audio, pass through the original 5.1 track (AC-3 or DTS) for best quality, but also add a secondary AAC stereo mix for compatibility with phones and older devices that won’t play AC-3/DTS.
This two-track method guarantees that sound quality is excellent everywhere — and without any further conversions later down the line.
Handling Subtitles, Chapters, and Essential Metadata
Save everything the disc provides. Basically, keep your VobSub subtitles in the remux process, and if you do want text-based subs, tweak them with an OCR utility to SRT for nice-looking and searchable captions. Preserve chapter markers so you can jump to scenes just like on the DVD, and embed basic metadata (title, year, language) to keep your library organized.

Verification helps. A utility such as MediaInfo can tell you at a glance what codecs, bitrate, channels, and subtitle format the file contains before you archive or share inside your home network.
File Sizes, Encoding Speed, and Practical Hardware Tips
A single-layer DVD holds 4.7GB. A remuxed movie is usually between 3–7GB because you are copying streams directly from the disc. A decent H.264 viewing copy of a two-hour movie is typically in the range of 1.6–3.0GB, with room for savings in that estimate when it comes to H.265.
Hardware encoders (Intel Quick Sync, NVIDIA NVENC) are fast, but CPU x264/x265 “slow” presets will give you the best efficiency at a given bitrate.
Use a proven USB DVD drive, clean discs with a microfiber cloth from the center to the edge, and try reading multiple times if you hit an error. Some scratched media can be partially or fully recovered, depending on the damage to the outer surface.
Legal Considerations and Important Preservation Notes
Legislation on disc copying and copy protection circumvention differs from country to country. In the US, exemptions from these prohibitions are granted every three years by the Library of Congress that permit circumvention only under specific circumstances (such as for commentary, parody, or accessibility), but personal format shifting is not a full exception. Civil society organizations, such as the Electronic Frontier Foundation, also issue plain-language summaries to help consumers understand the rules in their part of the world. If you have questions, consult with an attorney, and only rip discs you own.
Preservation is urgent. Studies conducted by the National Institute of Standards and Technology and the Library of Congress have determined that optical media life spans greatly differ and are extremely sensitive to external environmental conditions. Be sure to back up any really important discs now and store the masters on redundant drives, with a copy offsite or in the cloud for protection from loss.
Archive First Then Optimize For Daily Viewing
For the best of both worlds, use a two-tiered library system: keep an MKV remux (or full ISO image if menus are required) as your archival master, and a device-friendly transcode in MP4 or MKV format for day-to-day streaming.
That way you retain all the goodness of what the disc had to offer, but also have smaller files for when you’re on the move, and never have to recapture should you want to adjust settings in the future.
Done this way, you’re not only modernizing an old DVD collection with MP4 and MKV rips, but future-proofing it as well, despite a world of insane HD pinwheeling on the horizon.

