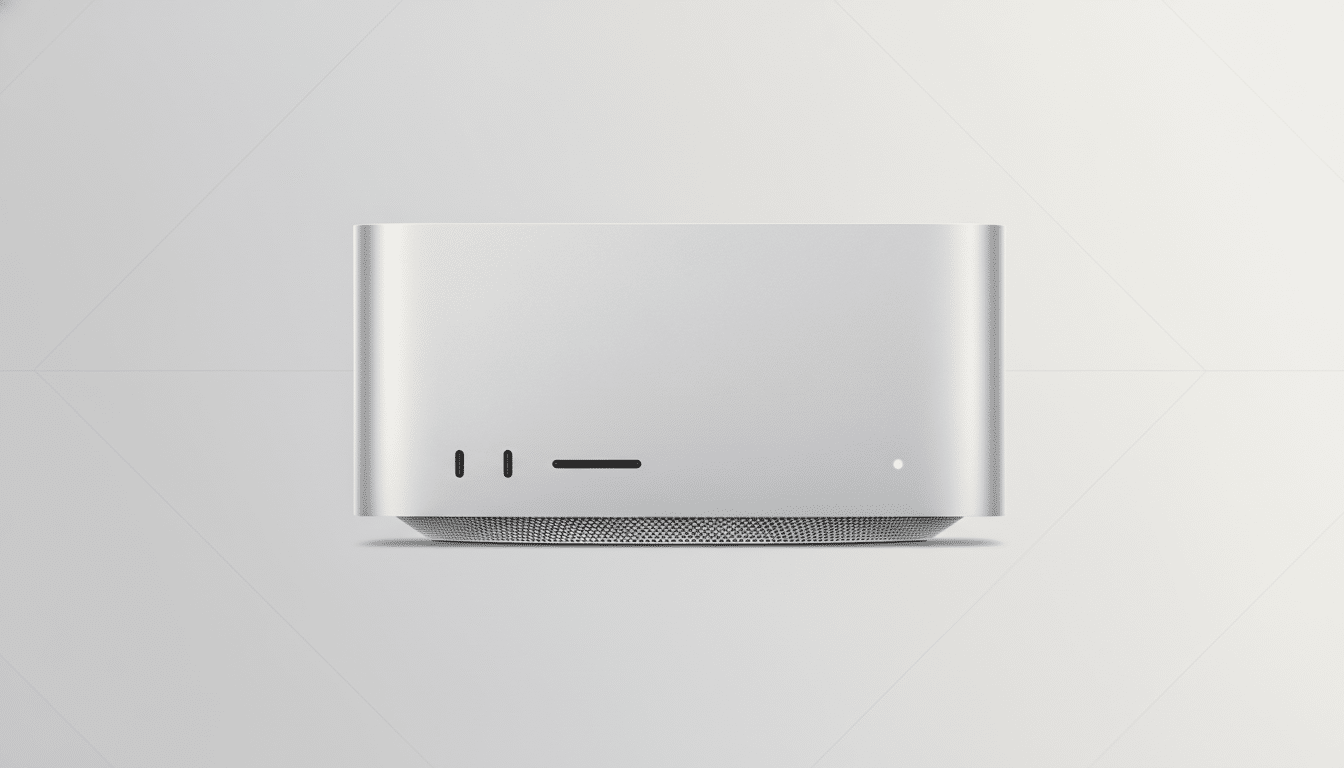
My $3,700 Mac Studio with an M3 Ultra chip went dark after a macOS 26 Tahoe upgrade attempt — black screen, no recovery mode, effectively a brick. If you own an M3 Ultra machine, here’s what happened, why it happens, and how I ultimately brought it back from the dead.
What Went Wrong With the macOS Tahoe Install
The install proceeded normally until the first reboot, then stalled on a black screen with no way into recovery. Reports from Apple Support Communities and developer forums point to a Tahoe installer glitch on some Apple silicon desktops where the Apple Neural Engine (ANE) driver loads, a hardware validation check fails, and the process aborts. Many users see a rollback to Sequoia; a smaller number end up in a no-boot state like I did.
On Apple silicon, upgrades touch low-level components tied to the Sealed System Volume and firmware. If a failure hits between driver initialization and the fallback handoff, the system can wind up unable to load the previous OS, leaving you without recovery or bootable volumes.
The Only Reliable Escape Hatch: DFU Revive or Restore
Apple’s documented path for a truly unresponsive Mac is a DFU Revive/Restore using Apple Configurator on a second Mac. It’s not glamorous, but it’s the same tool Apple retail technicians use at the Genius Bar.
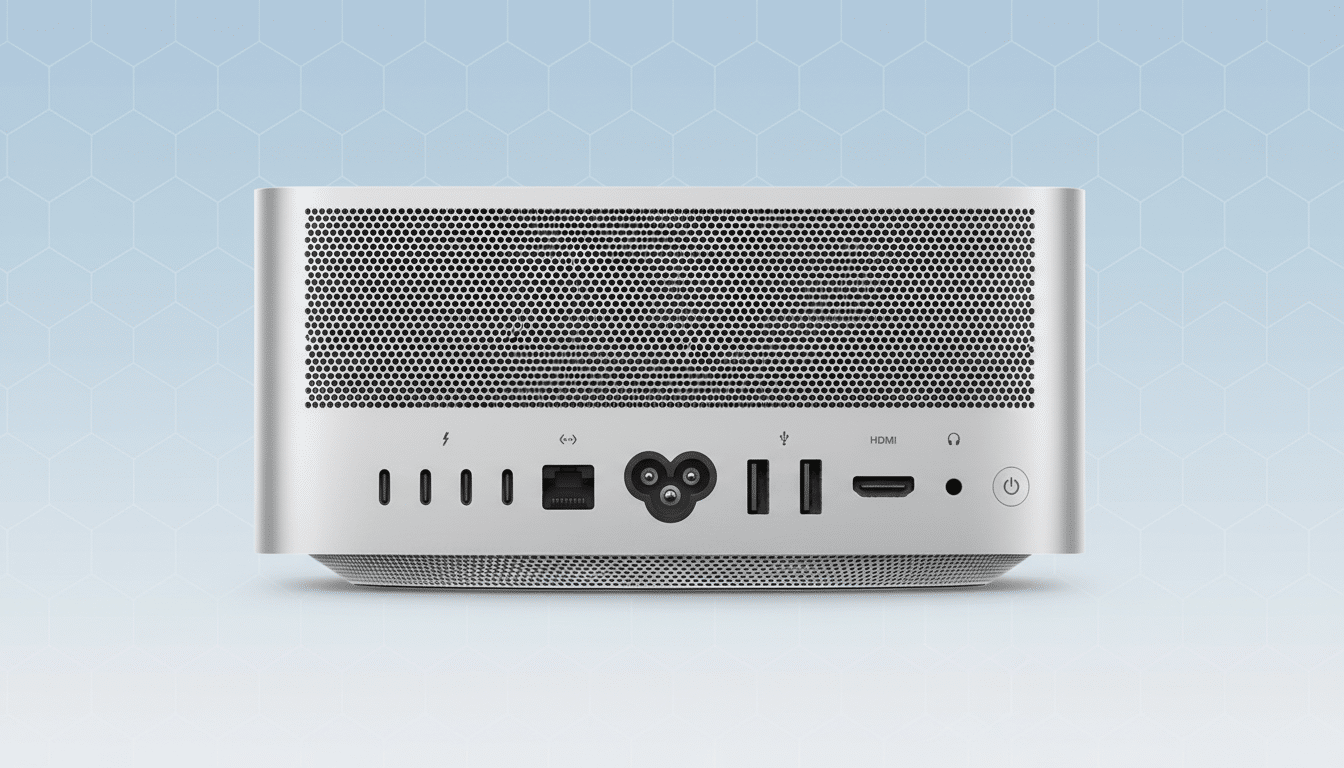
What you need: a second Mac with Apple Configurator installed, a high-quality USB‑C cable that supports data and power (Apple specifically cautions against Thunderbolt cables for DFU), and the DFU port on your affected machine. Apple’s support guide lists the exact DFU port per model; use that port only and disconnect all other USB devices.
How it works: power the bricked Mac off and unplug it. Launch Apple Configurator on the working Mac. Connect the USB‑C cable to the DFU port on the bricked Mac first, then press and hold the power button on the bricked Mac while plugging it back into power. Keep holding until the DFU device appears in Apple Configurator. You’ll see two choices: Revive (updates firmware and reinstalls recovery OS without erasing your data) or Restore (does all of that and erases internal storage).
Revive is the safer first step and can easily take 30–90 minutes depending on downloads. If it fails, Restore is the nuclear option. Apple’s own documentation, along with training materials used in retail, recommend escalating to Restore only if Revive cannot bring back a bootable recovery environment.
What Finally Worked in the Real World Recovery
I ran a full Revive. It completed but didn’t change the black screen outcome. I escalated to Restore. That also appeared to finish yet still left the machine unresponsive. At that point I was ready to book a firmware flash at an Apple Store.
Before giving up, I unplugged the Mac Studio entirely, waited a few seconds to discharge, reconnected power, and tried a normal boot. The login window appeared instantly. The most plausible explanation: the firmware repair took, but the system hadn’t reset its boot policy until a cold power cycle with no peripherals. Once it did, the Mac completed its post-install housekeeping and came back to life.
Practical Advice for M3 Ultra Owners Facing Updates
- Hold on updates if you can. Check the macOS release notes and Apple Support Communities to confirm whether the Tahoe ANE installer issue is fully resolved for Mac Studio configurations.
- Back up before touching major versions. A Time Machine snapshot or a full clone gives you a safety net if Restore becomes necessary. Remember that Restore erases your internal drive.
- Prepare a recovery kit. Keep a known-good USB‑C data cable on hand and identify the DFU port for your exact model. If you rely on your Mac for work, having access to a second Mac with Apple Configurator installed can save hours.
- Simplify the environment. Disconnect all peripherals, external drives, and hubs during both the upgrade and any DFU attempts. Several users report that stray USB devices can interfere with DFU enumeration.
- If you’re not comfortable with DFU, go straight to Apple Support. Retail technicians can perform a Revive/Restore with official IPSW images and verify hardware health on the spot.
Why This Glitch Matters for Pro Mac Workflows
Apple silicon’s tight integration is the reason these machines are so fast, but it also means OS installers interact with sensitive low-level components. When something goes wrong during those handoffs, recovery is more complex than the old “boot from USB and reinstall.” Analysts estimate the active Mac base is well over 100 million machines, and a non-trivial slice of pro users now run Apple’s desktop-class silicon. Even a small failure rate at this layer has outsized impact on creative and engineering workflows.
The good news is that Apple’s DFU tooling and Sealed System Volume design generally prevent data loss when Revive succeeds. The bad news is that the process isn’t friendly for casual users, and the optics of a flagship desktop bricking during a routine upgrade are not great. It underscores the value of staged rollouts, robust rollback paths, and transparent “known issues” communication.
Bottom Line: How to Recover After a Failed Tahoe Update
My Mac Studio looked toast after the Tahoe upgrade, but DFU Revive/Restore — plus a true cold power cycle — brought it back. If you’re on an M3 Ultra, wait for clear confirmation that the installer bug is resolved, make backups, and be prepared with a recovery plan. When in doubt, let Apple handle the revive. Your workflows will thank you.