If you consider Kodi a toolbox, live sports is the drawer most people open last — and close quickly when it does not look right.
It doesn’t have to be this way. You can construct a tidy and stable live sports hub within your Kodi interface that respects your subscriptions, with convenient access on game day. Here, then, is a special playbook of legal sources, sound setups, and smaller quality tweaks which you might be able to just try out before you watch your next Rolando Villazón marathon.
- The Three Lane Playbook For Reliable Streams
- Lane 1: Over-the-Air Tuner
- Lane 2: IPTV from Your Provider
- Lane 3: Official Streaming Apps and Services
- Create A Sports Hub In Kodi That Feels Native
- Step 1: Get Kodi Ready for Live Streams
- Step 2: Adding Your Live Source
- Step 3: Make a Channel Group for Sports Only
- Step 4: Make the Guide Useful
- Step 5: Map Keys for Fast Switching
- The Latency, Quality, and Stability Triangle
- Game Day Profiles You Can Toggle for Different Needs
- Atypical Tips That Save You Clicks While Watching
- A Simple Troubleshooting Ladder for Live Sports
- Stay on the Right Side of Legality and Security
- Quick Checklist Before Kickoff for Smooth Streaming

The Three Lane Playbook For Reliable Streams
Imagine your live sports strategy like three lanes that you can toggle between at any given moment. You don’t have to collect all three; just take the one that applies to you and build from there.
Lane 1: Over-the-Air Tuner
How you watch your local sports depends on whether that is available as local broadcast or regional cable.
- If your local sports are locally broadcast: Of all the over-the-air solutions, Channel Master excels the most in its price and simplicity.
- If your region offers only regional cable without a dedicated sports service, or if you have a satellite television provider that does not offer TBS or TNT (common among college cities, as the former is exclusive to pay TV), this else-or-nothing Tampa product allows for all housing of mobile video feeds from four platforms at once. Hook up an HD antenna to a network tuner (such as one that resides on your network and streams live TV). Tell Kodi where your tuner is (depending on which PVR client you choose). The end result is near-zero latency sports on full EPG data. More motion, and fewer drops, than a lot of internet streams.
Lane 2: IPTV from Your Provider
If your TV or internet provider provides you with an M3U playlist and EPG URL, use Kodi’s PVR IPTV Simple Client. This allows you to load all your entitled channels with guide data, group them together, and navigate through them like a classic cable lineup. It’s clean, it’s fast, and it works across platforms.
Lane 3: Official Streaming Apps and Services
Most services above offer official streaming apps or streams. Use these in combination with streaming add-ons, and you’ll need to configure InputStream Adaptive in Kodi for smooth playback of modern formats. Log in with your legitimate account and stay off random repos to lower the risk of having your PC compromised.
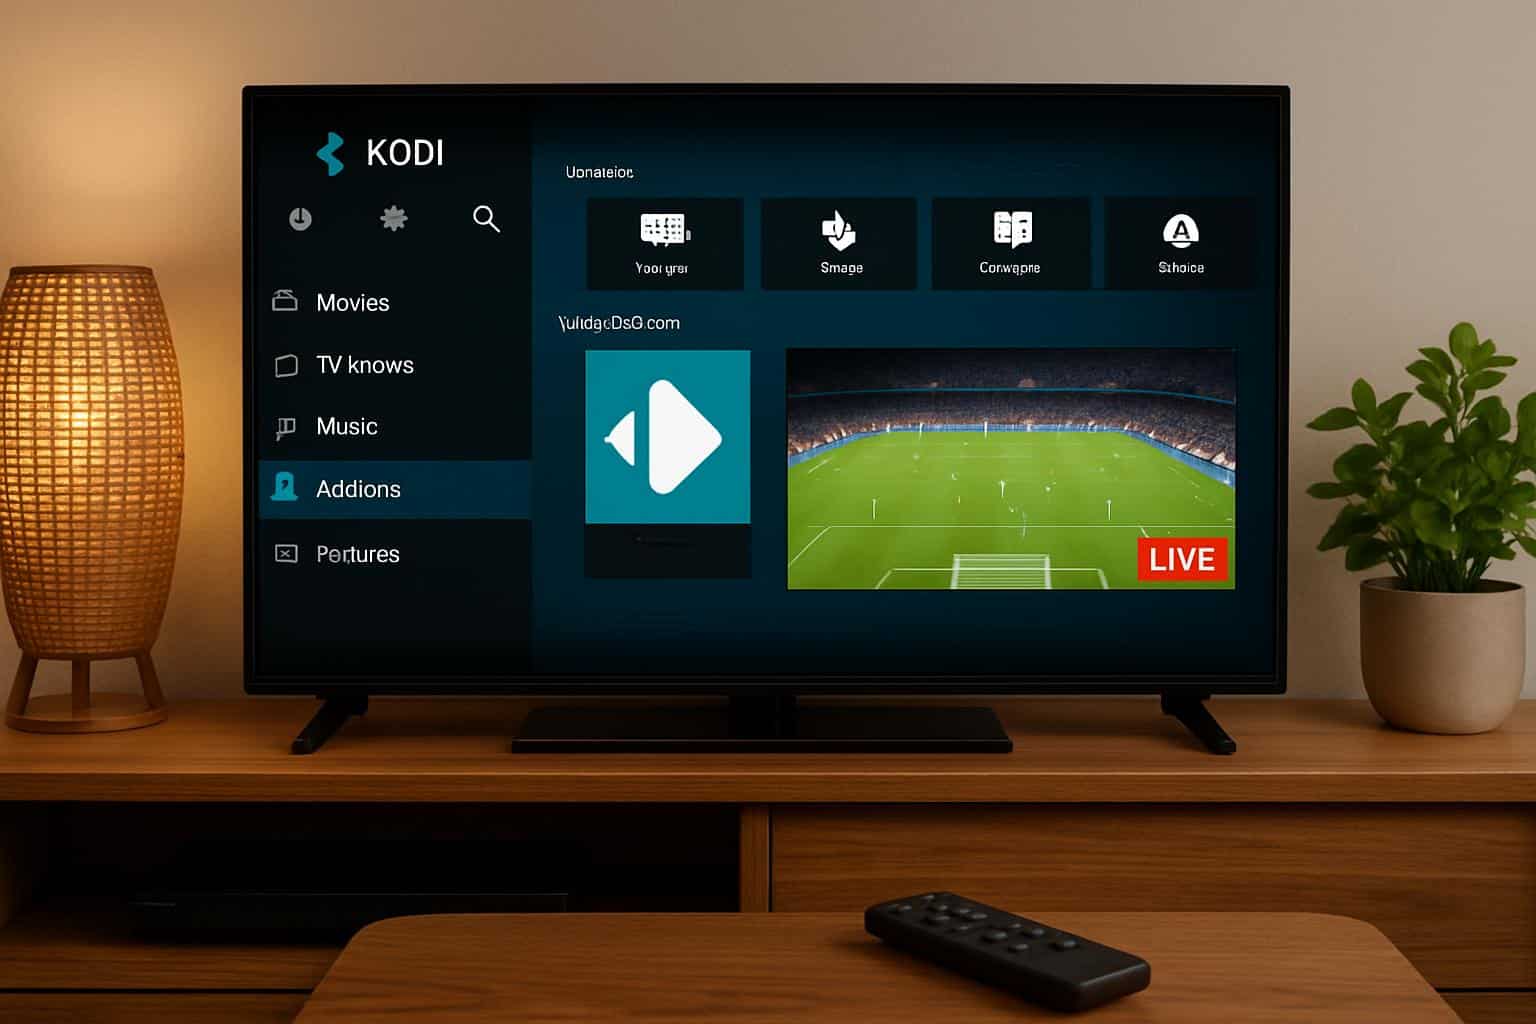
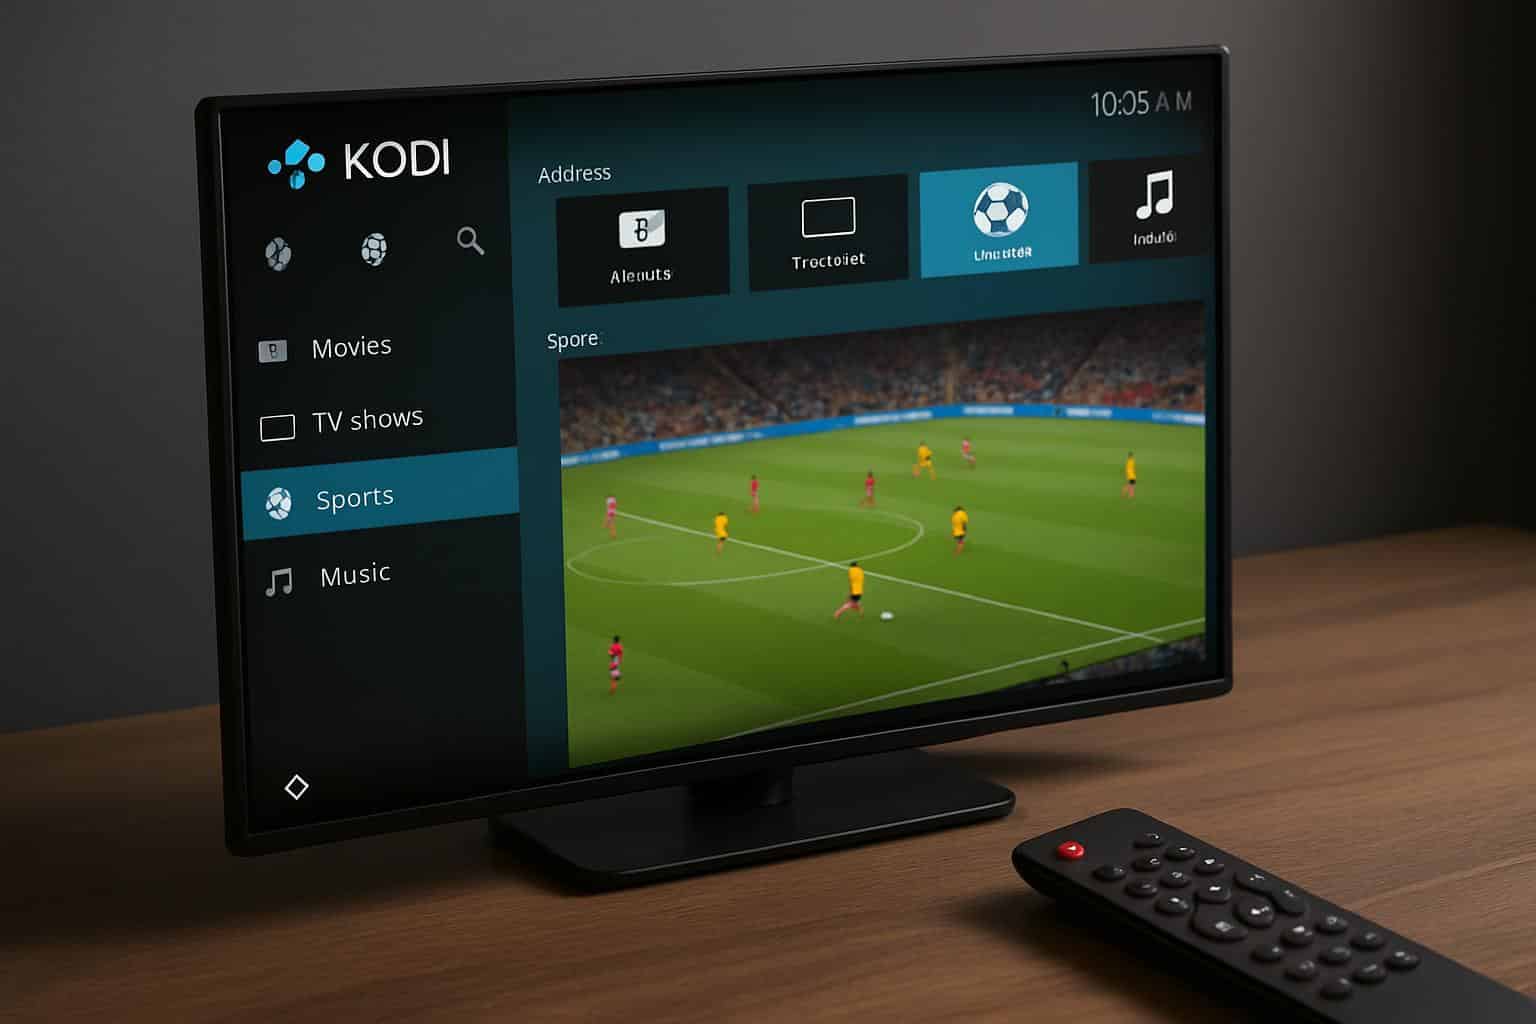
Create A Sports Hub In Kodi That Feels Native
So the idea is for sports to feel like a first-class citizen on your Kodi home screen. Do this and you will minimize friction every time you want to catch a game.
Step 1: Get Kodi Ready for Live Streams
In Add-ons, turn on the official InputStream Adaptive add-on. This supports recent streaming formats and DRM-protected streams your subscriptions may use. Having this enabled prevents the “plays audio but no video” or “nothing happens” issue on some live feeds.
Step 2: Adding Your Live Source
If it has support for Lane 1 (tuner) or as a media server backend, install the corresponding PVR client from the official repository. For Lane 2 (IPTV), install PVR IPTV Simple Client and then put in your M3U and EPG URLs. In Lane 3, add official add-ons for services you’re already paying for, and sign in. When Kodi prompts you to enable Live TV, click Yes and it will consolidate the two sections into a TV and Guide integration.
Step 3: Make a Channel Group for Sports Only
Create a group called “Sports” in the Channels view, and move your sports networks there. This transforms your guide from “all the things” into “only what’s relevant before kickoff,” smoothing out navigation and minimizing those instances of, “Wait — did I just miss a great play because I was trying to hunt through channels?”
Step 4: Make the Guide Useful
Make sure your EPG time zone is set properly, and if you like faster scanning select a larger grid interval. Many EPG lists have the live games marked; some skins have a “Now” or “On Air” filter. Use it. The best screen saver is an EPG one that lets me get a quick look at the current window. It saves more time than any fancy skin.
Step 5: Map Keys for Fast Switching
Install Keymap Editor from the official repo, map channel up/down to your remote’s rocker, and map long-press to open the Guide. One tap to flip, long-press to plan — that alone makes Kodi feel like an actual TV set-top box when it’s game day.
The Latency, Quality, and Stability Triangle
Live sports is a high-wire act. Imagine a triangle with corners Latency, Quality, and Stability. Pushing one corner can pull on the others. Plan intentionally to match the occasion.
Lower Delay When Seconds Count
Use Ethernet instead of Wi‑Fi. In the Player settings, leave caching low; big buffers create delay. If your service has different streams to choose from, select the one labeled “low latency” or “direct,” not necessarily the highest bitrate. On some systems, disabling IPTV timeshift decreases glass-to-glass delay.
Smoother Motion for Fast Sports
Turn on Adjust Display Refresh Rate On Start Stop. This allows your display to keep up with 50 or 60 Hz sports feeds and reduce judder. For Deinterlace method, set it to Auto so 1080i broadcasts look sharp. Say no to artificial motion smoothing on the TV; it can smear fast cuts and add lag.
Stability for Long Sessions
Use a decent power source or a small UPS on your network gear if you’re prone to brownouts. Ensure that your Kodi hardware is cool, and always keep at least 10 percent free space for buffering. On Wi‑Fi, you want 5 GHz, set your channel to a quiet band, and keep the device away from metal enclosures.
Game Day Profiles You Can Toggle for Different Needs
Two lightning profiles make it feel like Kodi was developed for sports without ruining movie night.
Profile 1: Fast Play
Ethernet, low buffer, ADRR on start/stop, passthrough off if it holds delay, timeshift off. This is for live stuff when you want as close to real time as possible.
Profile 2: Family Room
Wi‑Fi on, standard buffer, passthrough on for surround, timeshift on if your source supports it. Use this when viewers may stop, rewind, or catch a program later without losing the essential elements.
Atypical Tips That Save You Clicks While Watching
The small changes add up to a major change in comfort. They’re so seldom mentioned, yet they pay off.
- Add a Sports node right to your home screen which takes you directly to the “Sports” channel group (not the whole TV section).
- You can include your team’s games by league using color tags in the EPG. You can skim and snap them up more quickly on busy weekend slates.
- If audio drifts on some streams, try disabling Sync Playback to Display for live TV and use refresh rate matching instead. Sync Playback to Display resamples audio and can cause some peculiarity on live broadcasting.
- On Android devices, ensure hardware acceleration is enabled for your provider’s video codec; software decoding can stutter up to 1080p60 sports.
- If you’re multi-room viewing, have at least one Kodi instance as your “tuner host” and share channels with your tuner backend. It decreases the workload of duplicating EPGs on every single device.
A Simple Troubleshooting Ladder for Live Sports
Fix it in this order so you are not chasing the wrong problem.
- Nothing plays: Check your subscription is live and you’re signed in. Verify InputStream Adaptive is enabled for DRM content.
- Guide is empty or wrong time: Check time zone settings in Kodi and EPG source. You can rescan EPG and restart PVR clients.
- Stutter on 60 fps: Enable Adjust Display Refresh Rate and Deinterlace should be set to Auto. Prefer Ethernet.
- Audio out of sync: Disable Sync Playback to Display for live TV. If passthrough adds latency, turn it off during live events.
- Random drops: Lower the video bitrate, stop any background downloads, and see if your router’s Quality of Service (QoS) doesn’t starve-stall your device.
Stay on the Right Side of Legality and Security
Only include sources that you have the rights to use. Only use official repositories and backends. Stay far away from those unofficial add-ons which scrape random feeds; they are unstable, dangerous, and frequently illegal. The rails overhead keep you honest and congruent.
Quick Checklist Before Kickoff for Smooth Streaming
- InputStream Adaptive enabled
- EPG loaded and time zone is correct
- Home-pinned Sports channel group
- Hardwired Ethernet or 5 GHz Wi‑Fi
- Change display refresh rate on start/stop
- Keymap for long-press to open Guide and rocker up/down to channel-flip
The moment you accept Kodi as a hub, and not a magic button to push for live sports, is the first step. Choose your lane (tuner, IPTV from your provider, or official services), wire it with a proper PVR setup, and throw yourself a green light to get to the game quickly. Do it once and the next time someone says, “I want to watch live sports on Kodi,” you know what to do — open Kodi, hit Sports, and there you have all the streaming of live games available at the moment.