Soundbars keep replacing tinny TV speakers, yet many owners never hear what their bar can really do. The good news is you don’t need to buy anything to unlock better clarity, bigger impact, and more consistent volume. After testing and consulting with calibrators who set up systems for studios and living rooms, these five no-cost tweaks consistently deliver dramatic gains.
Think of this as a quick tune-up grounded in real-world acoustics and standards from groups like Dolby, the HDMI Forum, and the Audio Engineering Society. You’ll be done in minutes—and you’ll hear the difference immediately.

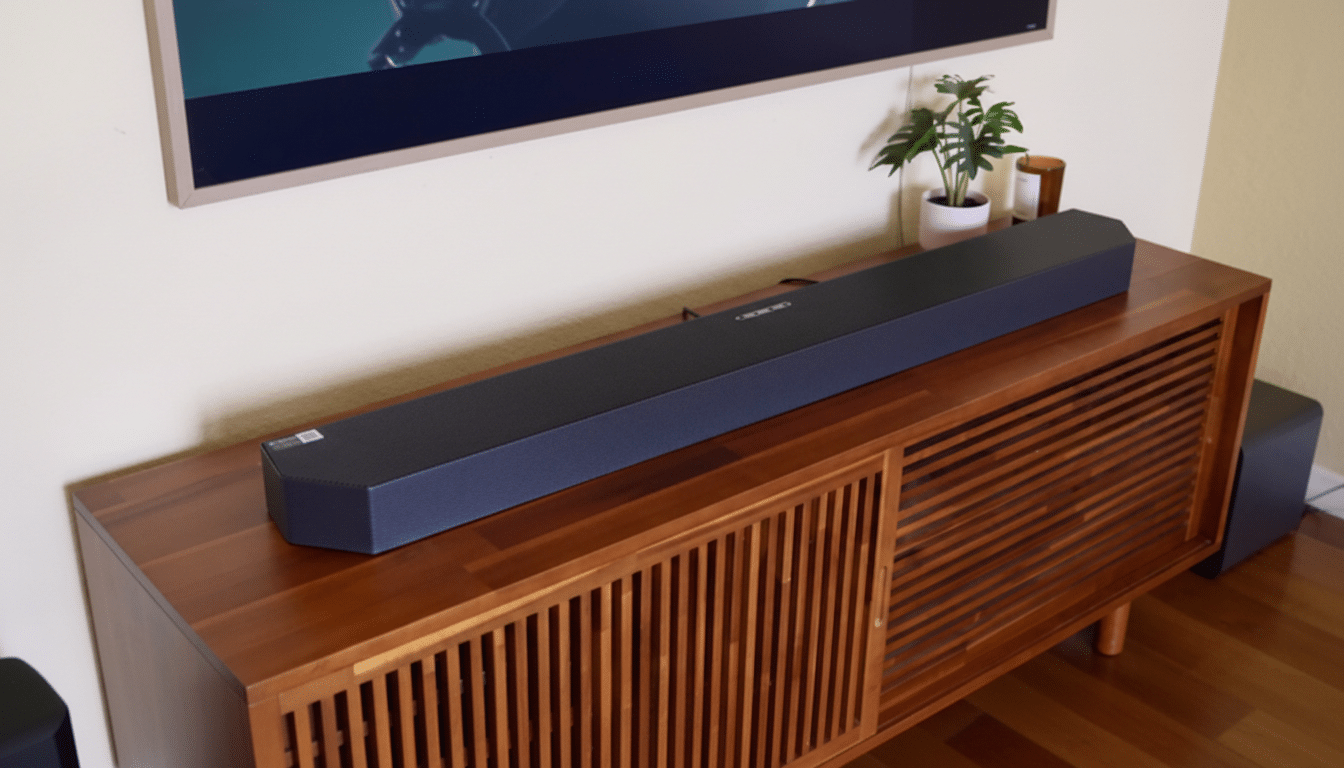
Fix Soundbar Placement And Angle Before Anything Else
Place the soundbar centered directly under the screen, as close to ear height as possible. If it sits in a cabinet, pull it forward so the front edge is flush with the shelf; the lip of a cabinet can reflect mids and highs back at the drivers, dulling dialogue. Even a 2–4 inch move forward often tightens voices and restores sparkle.
Aim the bar at your seating. A slight 5–10 degree upward tilt helps if it’s below ear level. Keep both ends roughly the same distance from side walls to avoid skewing the stereo image. If the bar has up-firing drivers, make sure they aren’t blocked by shelves and have a reasonably flat ceiling to reflect from.
Use The Room You Already Have To Reduce Reflections
Your room is part of the speaker. Hard floors, bare windows, and glass coffee tables bounce sound and smear transients. Close curtains before movie night and temporarily drape a blanket over a glass table; it’s a free, reversible fix that absorbs harsh reflections. The Audio Engineering Society notes that early reflections within 2–20 milliseconds reduce clarity—soft surfaces tame them fast.
Small shifts help, too. Slide the bar 3–6 inches off the wall to ease boomy boundary build-up. If your couch is hard against the back wall, move it forward a foot when you can; you’ll dodge a bass pressure zone and hear cleaner mids.
Choose Better Connection And TV Settings
Use HDMI ARC or eARC instead of Bluetooth whenever possible—ideally with the HDMI cable that shipped with your bar or TV. The HDMI Forum specifies that eARC boosts audio bandwidth up to roughly 37 Mbps (versus around 1 Mbps on legacy ARC), enabling uncompressed 5.1/7.1 and object-based formats when sources allow. Even with standard ARC, you’ll avoid the compression and dropouts common over Bluetooth.
In your TV’s audio menu, set output to Bitstream or Pass-Through, enable ARC/eARC, and switch on HDMI-CEC so one remote controls power and volume. Turn off the TV’s internal speakers to eliminate echo. If lip-sync is off, use the TV or soundbar’s Lip Sync controls to nudge delay by a few milliseconds until voices match mouths.
Run Auto Calibration, Then Fine-Tune For Clearer Sound
If your system supports automatic room tuning—features such as Trueplay, ADAPTiQ, SpaceFit Sound, or Sound Field Optimization—run it from the companion app. These tools use a built-in mic to measure your room and adjust EQ, channel balance, and virtual surround parameters for cleaner, more even sound.
No auto-cal? Do a quick manual tune. Play a dialogue-heavy scene or pink noise from a test video and sit in your usual spot. Nudge Dialogue or Center enhancement until voices feel anchored to the middle of the screen. Trim bass and treble a notch at a time; aim for crisp consonants without hiss and impactful bass without boom. If virtual surround muddies speech, turn it off for TV dramas and back on for action films.
Manage Dynamics And Keep Software Updated
Late-night viewing? Enable Night Mode or Dynamic Range Compression so loud peaks don’t rocket while whispers disappear. Volume leveling can tame jumps between apps and ads. Broadcast standards such as ATSC A/85 and EBU R128 target consistent loudness, but older mixes vary—these modes smooth things out without touching your wallet.
Finally, check for firmware updates in your TV and soundbar menus or their apps. Manufacturers routinely roll out fixes that improve HDMI stability, lip-sync accuracy, and support for formats like Dolby Atmos and DTS:X. It costs nothing and can resolve glitches that owners often mistake for hardware problems.
Taken together, these five moves—smarter placement, simple room tweaks, better connections, fast calibration, and smart dynamic control—deliver the kind of upgrade most people assume requires new gear. Try them tonight and your soundbar will play bigger, clearer, and closer to what the mix engineers intended.