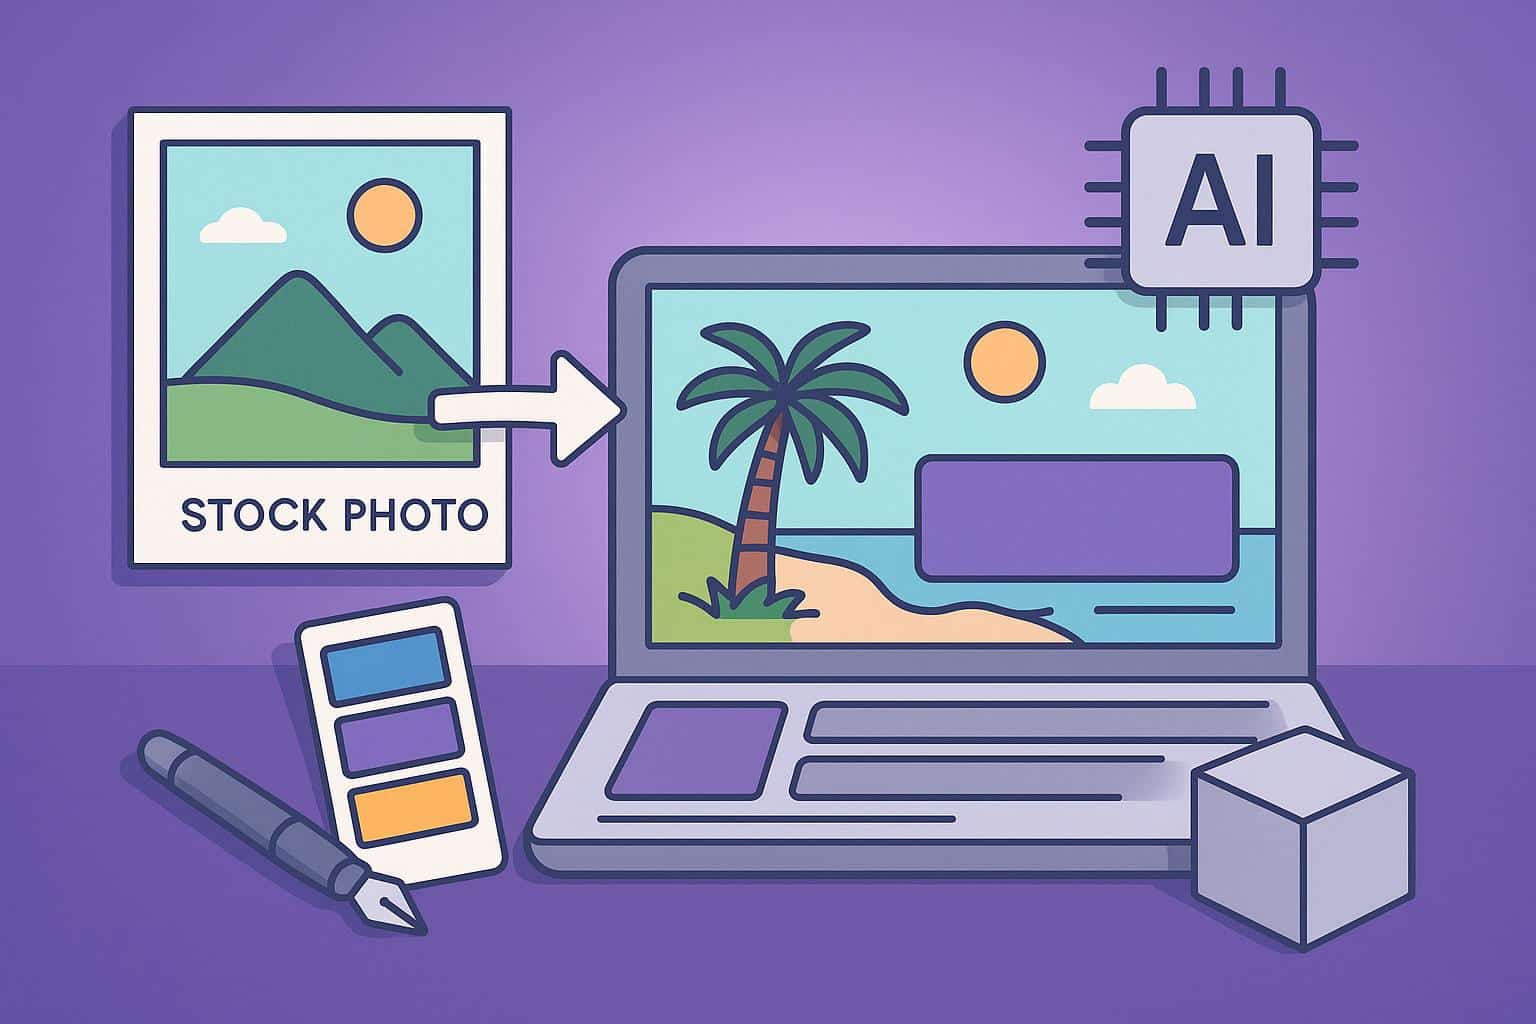
In the fast-paced world of digital marketing and graphic design, time is the ultimate luxury. Whether you are a freelance designer juggling five clients, a social media manager needing to post three times a day, or a startup founder DIY-ing your pitch deck, you know the struggle of finding the perfect image.
You scroll through Unsplash, Pexels, or Shutterstock for hours. Finally, you find it. The lighting is great, the vibe matches your brand, and the colors are on point. But there is a catch.
- The Problem with “Generic” Stock Photos
- Use Case 1: The “DIY” Mockup Generator
- Use Case 2: Creating Negative Space for Copy
- Use Case 3: De-Branding and Cleaning Assets
- Use Case 4: Curating the “Team”
- Speed vs. Perfection: Why AI Wins for Web Design
- Legal and Ethical Note: Watermarks
- Conclusion: Your New “Ctrl+Z” for Reality
There is a distracting logo on the laptop in the photo. There is a coffee cup covering the exact spot where you wanted to place your headline. Or, there is a person in the background who just doesn’t fit the demographic you are targeting.
In the past, you had two options: abandon the photo and keep searching, or open a heavy tool like Photoshop, create a new layer, grab the Clone Stamp tool, and spend 20 minutes meticulously retouching the image.
But today, the workflow has evolved. With the advent of browser-based AI tools, you can customize stock assets in seconds. A magic eraser is no longer just a tool for fixing mistakes; it is a creative instrument that allows you to “remix” reality to fit your design needs.
In this guide, we will explore how to use AI to clean up stock photos, create instant mockups, and speed up your design process.
The Problem with “Generic” Stock Photos
Stock photography is a lifesaver, but it has a major flaw: it is generic by design. The same photo of “office team high-fiving” might be used by a bank, a tech startup, and a dental clinic.
To make a stock photo feel like your brand, you need to customize it. You need to subtract the elements that scream “stock” and create space for your own message.
This is where the magic eraser becomes your best friend. It allows you to strip away the specific details of a photo, leaving you with a high-quality, neutral canvas that you can make your own.
Use Case 1: The “DIY” Mockup Generator
One of the most powerful uses of cleanup technology is creating custom mockups.
The Scenario:
You are launching a new t-shirt design. You found a great photo of a model wearing a plain white tee in a cool urban setting. However, the t-shirt in the photo actually has a small pocket logo or a graphic on it.
The Fix:
- Upload the photo to magiceraser.org.
- Brush over the existing graphic or pocket on the shirt.
- The AI analyzes the fabric texture and lighting (the folds and shadows) and replaces the graphic with plain white fabric.
The Result:
You now have a blank t-shirt that preserves the natural wrinkles and lighting. You can take this image into Canva or Photoshop and overlay your own PNG design. This creates a realistic mockup without needing to pay for expensive mockup generator services.
This technique works for everything:
- Screens: Erase the content on a laptop or phone screen to overlay your app UI.
- Mugs: Erase the text on a coffee mug to place your company slogan.
- Posters: Erase the art in a picture frame on a wall to insert your own print.
Use Case 2: Creating Negative Space for Copy
A common complaint from designers is: “This photo is beautiful, but it’s too busy. I have nowhere to put the text.”
In marketing design, “Negative Space” (empty space) is crucial. It is where your headline, CTA button, and logo live. If a photo is cluttered from edge to edge, your text will be unreadable.
The Solution:
Be the director of the composition. Use the magic eraser to delete objects that are occupying the “copy zone.”
- If you need to put text in the sky, erase the birds or clouds.
- If you need to put text on a table, erase the vase or the scattered pens.
By clearing a visual path, you transform a busy photograph into a functional background image for ads or banners.
Use Case 3: De-Branding and Cleaning Assets
Nothing ruins a professional design like accidental branding.
Imagine you are designing an ad for a finance app. You use a photo of a person paying at a register. But wait—the credit card reader clearly shows the “Visa” or “Mastercard” logo, or the cashier is wearing a cap with a “Nike” swoosh.
Using visible third-party logos in commercial work can sometimes be a legal gray area or just look unprofessional.
The Fix:
Don’t blur it out (which looks messy). Erase it.
Use the magic eraser to wipe the logo off the cap or the machine. The AI fills in the texture, making the object look generic and unbranded. This keeps the focus on the action, not the accidental brand placement.
Use Case 4: Curating the “Team”
Corporate stock photos often feature groups of people. Sometimes, the group composition just doesn’t work for your specific narrative.
The Scenario:
You find a great shot of a meeting. The lighting is perfect corporate blue. But there is one person in the foreground who is looking at their phone while everyone else is engaged. It ruins the “teamwork” vibe.
The Fix:
You can selectively remove people from photos to improve the group dynamic. By erasing the distracted person, you tighten the focus on the engaged team members.
Or, perhaps the photo is just too crowded. A group of five might feel chaotic for a small hero banner. Use the tool to remove people from photos on the edges, turning a group of five into a focused trio. This allows you to repurpose the same stock photo for different uses—one version with the full group, one version with just the team leader.
Speed vs. Perfection: Why AI Wins for Web Design
“Why not just use Photoshop?”
This is the classic question. For high-end print billboards, yes, you might want the manual control of Photoshop.
But for the web—social media posts, blog headers, email newsletters—speed is the priority.
- Load Time: Photoshop takes time to open. Magiceraser.org loads instantly in your browser.
- Complexity: You don’t need to manage layers or masks.
- Cost: It is free.
When you are mocking up ten different concepts for a client, being able to quickly clean up an image and drop it into your layout saves hours of billable time. It allows you to iterate faster.
Legal and Ethical Note: Watermarks
A quick note on ethics: While technology allows you to remove almost anything, you should never use a magic eraser to remove watermarks from stock photos you haven’t purchased. That is theft.
However, there are legitimate use cases for watermark removal:
- Lost Originals: You bought a photo years ago, lost the high-res file, and only have a watermarked proof or a version with a timestamp date on it. You can clean it up to restore it.
- Platform Timestamps: Some cameras or old software add ugly orange date stamps (e.g., “05/12/2008”). Removing these is purely restorative and essential for modern design.
Conclusion: Your New “Ctrl+Z” for Reality
In the designer’s toolkit, the magic eraser is arguably as important as the crop tool. It gives you the power to say “no” to the elements in a photo that don’t serve your vision.
It allows you to:
- Turn generic assets into custom mockups.
- Create space for your typography.
- Remove people from photos that distract from the main subject.
- Clean up accidental logos and clutter.
Design is about intention. Every pixel in your image should be there because you want it there. With AI-powered cleanup, you have the power to delete the rest. Start streamlining your creative workflow today—your deadlines will thank you.